
TL;DR
- The most common tire-pressure mistake is treating PSI like a fixed number or pumping to the max printed on the sidewall. Modern guidance ties pressure to load, tire width, rim width, surface, and whether you run tubes or tubeless. (continental-tires.com)
- Too much pressure does not just hurt comfort. On rough pavement, it can waste rider energy through vibration, reduce grip, and make a bike feel faster than it really is. (trekbikes.com)
- Use the PRESS Audit in this article: Print your limits, Record total load, Evaluate the surface, Set a front-rear split, and Scan the ride for symptoms.
- Make changes in small 2 to 3 PSI steps, log what you changed, and recheck pressure often with a gauge because bicycle tires lose air over time. (continental-tires.com)
- If comfort still is not good at safe pressures, buy volume before buying boutique upgrades. Wider compatible tires, a better casing, or tubeless can do more than a comfort accessory. (sram.com)
Many riders try to solve a harsh, tiring bike with new gloves, thicker tape, or a different saddle. Sometimes the cheaper fix is a floor pump and five careful minutes. The real money-wasting move is buying comfort parts before checking whether your tires are simply overinflated for your weight, route, and setup. Major tire and wheel makers now treat pressure as a tuning variable, not a universal number, because the right range changes with tire size, rim width, system weight, surface, and tire construction. (continental-tires.com)
The headline mistake is not just low pressure or high pressure by itself. It is unmanaged pressure: using the same PSI year-round, running the same number front and rear, or defaulting to the sidewall maximum as if it were a target. That habit can leave comfort on the table, waste rider energy over broken pavement, and in some cases increase flats or tire wear instead of preventing them. (trekbikes.com)
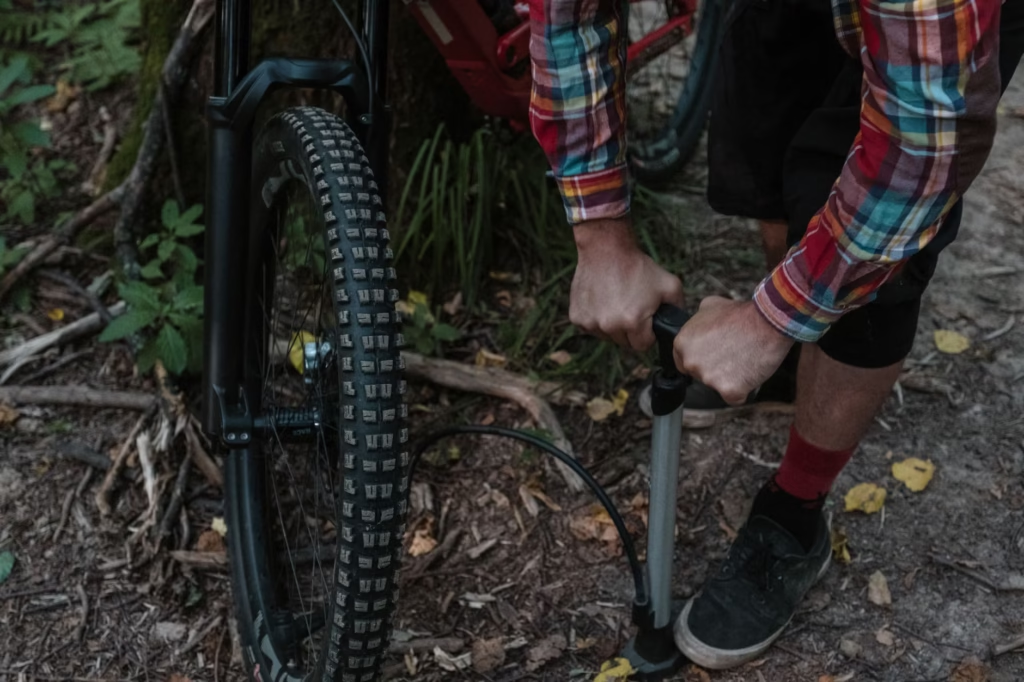
The real mistake is treating pressure like a fixed number
Older road-bike habits taught riders to pump hard and go ride. Modern tire guidance is different for a reason. SRAM’s current pressure calculator asks for ride type, wet or dry surface, bike and rider weight, tire width, casing, wheel diameter, and rim details before it suggests a starting point. Continental and Schwalbe also stress that ideal pressure depends on load and conditions, not one magic PSI. If your number does not change when your route, gear, or tire size changes, it is probably not really dialed in. (sram.com)
| If the ride feels like this | What it usually means | First change to try | What to watch next |
|---|---|---|---|
| Hands buzzing on every crack and rough patch | Pressure is often too high for the surface | Drop 2 to 3 PSI front and rear | If steering starts to feel vague, add 1 PSI back |
| Bike skips or slides more than expected in corners, especially on rough or damp pavement | Often too much pressure, especially in the front tire | Lower the front first, then re-test | Stay inside the tire and wheel pressure limits |
| Squirm, rim strikes, or a hard thud on potholes | Pressure is likely too low for your load or setup | Add 2 to 4 PSI | Inspect tire and rim after any hard impact |
| Repeated pinch flats with tubes | Usually too little pressure, too little tire volume, or both | Add 3 to 5 PSI or consider a wider tire or tubeless if compatible | If flats continue, inspect casing, rim tape, and route hazards |
| One pressure feels fine unloaded but bad with a work bag or grocery load | Your total system weight changed | Reset from scratch using your full riding load | Write down pressure by ride type instead of using one number for everything |
The PRESS Audit: a 6-minute reset before your next ride
Here is a simple tool to use before you spend money or start guessing. PRESS turns scattered manufacturer advice into a routine you can run in the garage or at the trailhead. The goal is not to find one perfect number forever. It is to find a safe starting point, then narrow in on the best number for your actual load and route. (sram.com)
- P – Print the safe ceiling and floor. Read the pressure range on the tire sidewall, and if your rim or wheel has a lower maximum, that lower number wins. If you ride hookless rims, compatibility and pressure caps matter even more. (schwalbetires.com)
- R – Record your real load. Count rider weight, bike weight, bottles, tools, lock, laptop, child gear, or anything else you carry. Official guides repeatedly point back to system weight as a major pressure input. (sram.com)
- E – Evaluate the surface and conditions. Smooth dry pavement, broken city asphalt, chipseal, gravel, wet roads, and trails do not want the same pressure. Rougher or wetter conditions usually call for a lower starting point than smooth, dry conditions, as long as you stay within safe limits. (sram.com)
- S – Set a split, not one number. Start with a manufacturer calculator or chart, and expect the front to be a little lower than the rear because published charts commonly separate the two. (sram.com)
- S – Scan the first 15 minutes of the ride. Harsh chatter, skittering, and hand numbness often point high. Squirm, bounce, rim hits, or pinch-flat risk point low. (trekbikes.com)
- Save the baseline. Write down front PSI, rear PSI, tire size, route, weather, and what you were carrying. That log is what stops you from solving the same problem over and over.
A realistic example with numbers
Consider a 176-pound rider on 28 mm tubeless road tires riding mixed city pavement. In Zipp’s published starting chart for one modern road setup, that rider weight lines up with 57 PSI in the front tire and 61 PSI in the rear tire. That is far below the 80 to 90 PSI habit many riders still carry over from older, narrower road-bike setups. (sram.com)
Now imagine that same rider commutes 8 miles each way and has been running 85 PSI in both tires because it feels quick in a parking lot. On real pavement, that can translate into more buzz through the hands and saddle, less grip on broken corners, and more fatigue by the time the ride ends. Zipp’s rough-road test on an 85 kg system with a labeled 28 mm tire found a 48-watt drop in power required between 90 PSI and 30 PSI on its test surface. That does not mean every road rider should aim for 30 PSI. It does mean harsh does not automatically equal fast, and overinflation can waste rider energy on rough roads. (sram.com)
In addition to being materially and financially beneficial from a product perspective, the example of
It is logical to have this conversation in terms of money. Prior to purchasing thicker bar tape, paddled gloves or a new saddle, addressing the air spring that you currently possess makes the most sense. Pressure tuning is also one of the few cost-effective upgrades for comfort after you have your proper measurement instrument.
How to choose a better starting pressure
There is no single perfect PSI that works for everyone. Official guides say that plainly. What you want is a better starting point, not fake precision. Once you have that start, you can tune from there. (continental-tires.com)
- Start with the maker, not your riding buddy. Use a calculator or published chart from your tire, wheel, or bike brand whenever one exists. Zipp publishes road starting pressures, and Maxxis publishes discipline-specific pressure ranges as starting points, not absolutes. (sram.com)
- Keep the front a little lower than the rear unless a manufacturer specifically tells you otherwise. Published front-rear charts from Zipp consistently do this because the rear carries more load. (sram.com)
- Lower slightly for rougher or wetter rides, and raise slightly for more load, but stay inside the tire and wheel limits. Surface and weight are two of the biggest variables in every official guide reviewed here. (sram.com)
- If you switch from standard butyl tubes to tubeless on a modern road setup, do not assume the same PSI still applies. Zipp’s white paper says a 28 mm tubeless tire may need roughly 10 PSI less than a comparable standard-weight butyl-tube setup to achieve similar spring behavior. (sram.com)
- Adjust only 2 to 3 PSI at a time and write it down. Small changes are enough to notice, especially on wider tires or rough pavement. Maxxis makes the same basic recommendation: use its published range as a start and tune in small increments. (maxxis.com)
Common mistakes that keep riders uncomfortable
- Using the maximum sidewall number as your everyday target instead of a safety boundary. The usable setting is often lower and depends on load and conditions. (continental-tires.com)
- Running the same pressure front and rear. Front-rear splits exist for a reason, and published charts frequently put the front lower. (sram.com)
- Ignoring the weight of water, a lock, laptop, child seat, or grocery load. System weight changes pressure needs more than most riders think. (sram.com)
- Relying on the thumb test. Schwalbe notes that many bike tires can feel similarly firm from about 2 bar and up, which makes squeeze testing a poor way to set pressure. (schwalbetires.com)
- Forgetting that bike tires lose pressure over time. Regular checks are not picky behavior; they are part of basic setup. (continental-tires.com)
- Chasing comfort by dropping pressure without checking rim and tire compatibility, especially on hookless systems. (schwalbetires.com)
When the simple reset still is not enough
If you are already near the low end of the safe range and the bike still beats you up, pressure may not be the only bottleneck. Tire volume, casing, rim width, and compatibility can all limit how much comfort you can safely get from air alone. Wider tires absorb more road chatter, and larger tires generally need less pressure for the same support, but you have to confirm frame clearance and rim fit before you size up. (trekbikes.com)
- Check clearance first. Trek says road bikes should have at least 5 mm of clearance between the tire and the frame at the fork and rear triangle. (trekbikes.com)
- Check rim fit second. WTB advises matching tire section width to inner rim width using ETRTO sizing and compatibility charts, because not every wider tire is a good match for every rim. (wtb.com)
- If flats are part of the problem, tubeless can be a better backup plan than simply adding more PSI. SRAM notes tubeless removes pinch-flat risk from the inner tube, and Schwalbe says tubeless tires can be used at lower pressures. (sram.com)
- If you are a heavier or more aggressive rider, or you carry cargo, a sturdier casing may matter as much as another 2 PSI. Maxxis explicitly says heavier riders may need higher pressures and/or heavier-duty casings for support and flat protection. (maxxis.com)
If money is tight, spend in this order: accurate gauge or pump, correct tire size for your bike, then casing or tubeless changes if your current setup still does not work. That sequence usually beats buying comfort accessories first because it addresses the contact point that actually controls vibration. (schwalbetires.com)
How to verify that your new pressure is actually better
Do not judge pressure by the parking-lot bounce test. Use a short A/B process instead. Pressure changes are small enough that memory gets fuzzy fast, which is why an actual log matters more than a first impression. A good gauge is part of the test, because thumb checks are too imprecise. (schwalbetires.com)
- Pick one repeat route of 20 to 30 minutes that includes the surface you actually ride most.
- Ride it once at your current pressure and once after changing only 2 to 3 PSI. Do not change tire model, bag weight, or riding pace at the same time.
- Rate each ride from 1 to 5 for hand buzz, corner grip, impact harshness, and end-of-ride fatigue.
- If the bike chatters and skips on broken pavement, drop another 2 PSI next ride. If it feels bouncy, vague, or you are hitting the rim, add 2 PSI back. (trekbikes.com)
- Keep the pressure that gives you the best mix of control, comfort, and no impacts. Re-test when seasons, tires, or cargo change, because pressure loss and surface conditions do change over time. (continental-tires.com)
This article is informational, not a substitute for your tire, rim, and wheel manufacturer instructions. Never exceed the lower of the tire or wheel pressure limits. If you ride hookless rims, use only approved tire types and widths and follow the wheel maker’s stated pressure cap. If you are unsure, have a qualified bike shop confirm compatibility before you ride. (schwalbetires.com)
Bottom line
The tire-pressure mistake that ruins comfort and wastes your energy is not simply low PSI or high PSI. It is riding with a number that ignores your load, tire size, rim width, setup, and surface. Fix that first. In many cases, a gauge, a log, and a 2 to 3 PSI adjustment can do more for comfort and efficiency than the next accessory purchase. (sram.com)
FAQ
Is the max PSI on my tire sidewall the right pressure to use?
Usually no. Treat the printed range as your safe boundary, not your automatic daily target. Schwalbe and Continental both say ideal pressure depends on load and conditions, and if the rim or wheel has a lower maximum, that lower limit applies. (continental-tires.com)
Should my front and rear tires use the same pressure?
Often no. Many manufacturer charts publish separate front and rear numbers, with the front slightly lower because the rear typically carries more weight. Use that split as a starting point instead of defaulting to one PSI front and rear. (sram.com)
Can lower pressure really be faster?
On rough real-world pavement, it can. Zipp’s testing found lower pressures could reduce power required on rough surfaces, and SRAM explains that a smoother ride can waste less energy in vibration. The key phrase is within safe limits. Too low still creates handling and impact risks. (sram.com)
Do I need to check tire pressure before every ride?
For active riders, checking before rides is smart because bike tires lose pressure over time. Continental says pressure is an important safety factor and should be checked before every ride on MTB, while Schwalbe says at least monthly and before every ride if you use latex tubes. A gauge is more reliable than a squeeze test. (continental-tires.com)
What changes if I use hookless rims?
Hookless systems have stricter compatibility and pressure rules. Schwalbe and SRAM both say to use only approved tire types and widths, and SRAM’s Zipp guidance says TSS wheel and tire systems should never be inflated above 72 PSI or 5 bar. When in doubt, check the wheel maker first. (schwalbetires.com)
What if I still get pinch flats after lowering pressure for comfort?
Add a little pressure back, inspect the tire and rim for damage, and reconsider whether the tire volume or casing is enough for your weight and route. If flats remain common, a wider compatible tire or tubeless setup may be a better fix than continuing to inflate harder. (trekbikes.com)
References
- SRAM/Zipp Total System Efficiency white paper – https://www.sram.com/globalassets/publicsites/cms-campaign-pages-not-story-pages/zipp/totalsystemeffeciency/pdf-downloads/tse-explained2.pdf
- SRAM Zipp: How to Calculate Tire Pressure – https://www.sram.com/en/zipp/learn/how-to-calculate-tire-pressure
- SRAM Quarq: Tire Pressure Explained – https://www.sram.com/en/quarq/campaigns/tire-pressure-explained
- Trek: How to Pump Your Tires to the Right Pressure – https://www.trekbikes.com/us/en_US/how-to-pump-your-tires/
- Trek: How to Choose Best Road Bike Tires – https://www.trekbikes.com/us/en_US/how-to-choose-road-tires/
- Continental: Tire Knowledge Bicycle Tires FAQ – https://www.continental-tires.com/tire-knowledge/tire-knowledge-bc/
- Schwalbe: Inflation Pressure FAQ – https://www.schwalbetires.com/technology-faq/inflation-pressure/
- WTB: Tire and Rim Fit Chart – https://www.wtb.com/pages/tire-rim-fit-chart
- Schwalbe: Hookless Rims FAQ – https://www.schwalbetires.com/technology-faq/hookless-rims/
- Maxxis Bicycle Tech PDF – https://www.maxxis.com/us/wp-content/uploads/sites/13/2022/02/2022-Bicycle-Tech.pdf