
After your bicycle has been adjusted with a new barrel adjuster, if it continues to have shifting issues for a period of a couple of days, then it’s not the barrel adjuster or a lack of lubrication that is causing the problem. This guide will provide you with the most common reasons why a bicycle can experience shifting problems, how to troubleshoot those problems in an economical manner, and when it is no longer feasible to pay for another tune-up.
Table of Contents
- The problem usually is not the adjustment
- Use the RESET test before one more tune-up
- What each RESET failure usually means
- A realistic repair-budget example
- Where to spend first
- The lowest-cost reset sequence
- Common mistakes that keep the bike from ever feeling right
- When a simple tune-up is not enough
- How to verify the fix before the next ride
- Bottom line
- FAQ
- References
TL;DR
- If shifting only improves briefly after an adjustment, assume there is a root cause underneath the tune-up.
- Use the RESET test: Rear wheel seating, Eye-test-rejected hanger alignment, System drag, Engagement wear, and Tension-plus-tooth-gap setup.
- A slightly bent hanger, worn chain, damaged housing, or incorrect chain gap can make perfect indexing impossible.
- Measure wear before paying for repeat adjustments. A small diagnostic cost is often cheaper than a worn-out cassette.
- If the bike has crash damage, an integrated hanger, or mixed drivetrain parts, a professional check is often the smarter move.
The problem usually is not the adjustment
If a bike requires a quarter turn adjustment after each couple rides it is an indication that it requires a diagnosis rather than continual small repeat fixes. The importance of this distinction is that continual small repeat fixes can lead to wasted bills on bicycle shop fees, wasted time on weekends, and eventually more expensive drivetrain replacements. If your gears never maintain smooth shifting after they have been “adjusted” the root cause is likely to be misalignment, excessive friction, excessive wear, or improper set-up order; not the adjustment itself.
For rear shifting to work properly, all components of the drivetrain must be in their original position upon the return of the drivetrain to its starting point. This means that if: (1) the derailleur hanger is warped; (2) the wheel is not properly seated; (3) the cable has drag; (4) the electronic setup is incorrect; (5) the chain and/or cassette are outside of wear limits; (6) the upper-pulley gap is off; or (6) the chain length is incorrect, you can fix one piece of the situation, but something else will most likely break down.
This is why a bicycle can appear to be in good condition during a repair, but operate poorly while riding. Many of these problems are often minute changes in alignment or wear, which go unnoticed at no load, such as when the bicycle is being spun in the stand, but will reveal themselves after the bike has begun to be ridden. The most frequently mentioned problem encountered when attempting to get a bike to shift properly – particularly while using the front derailleur – is the rear derailleur’s consistent difficulty to remain indexed correctly.
Use the RESET test before one more tune-up
The RESET examination serves as the initial tool to examine this article; perform the test in chronological order, scoring each item under the criteria of pass or fail. If two items score as ‘failed’, there is no further incentive to pursue an adjustment. If three items fail, it is generally prudent to set money aside for replacement or an in-depth diagnostic rather than continue with small adjustments.
- R – Rear wheel seated: The wheel must sit in the frame the same way every time, with the axle or quick release properly secured.
- E – Eye test rejected: Do not trust a visual hanger check. Slight bends often look fine and still ruin shifting.
- S – System drag: Mechanical bikes need clean, low-friction cable and housing. Electronic bikes still need correct setup and stable hardware.
- E – Engagement wear: Measure chain wear and inspect cassette and chainring teeth before adjusting anything else.
- T – Tension and tooth gap: Confirm chain length, B-tension or chain gap, then set cable tension or electronic trim last.
What each RESET failure usually means
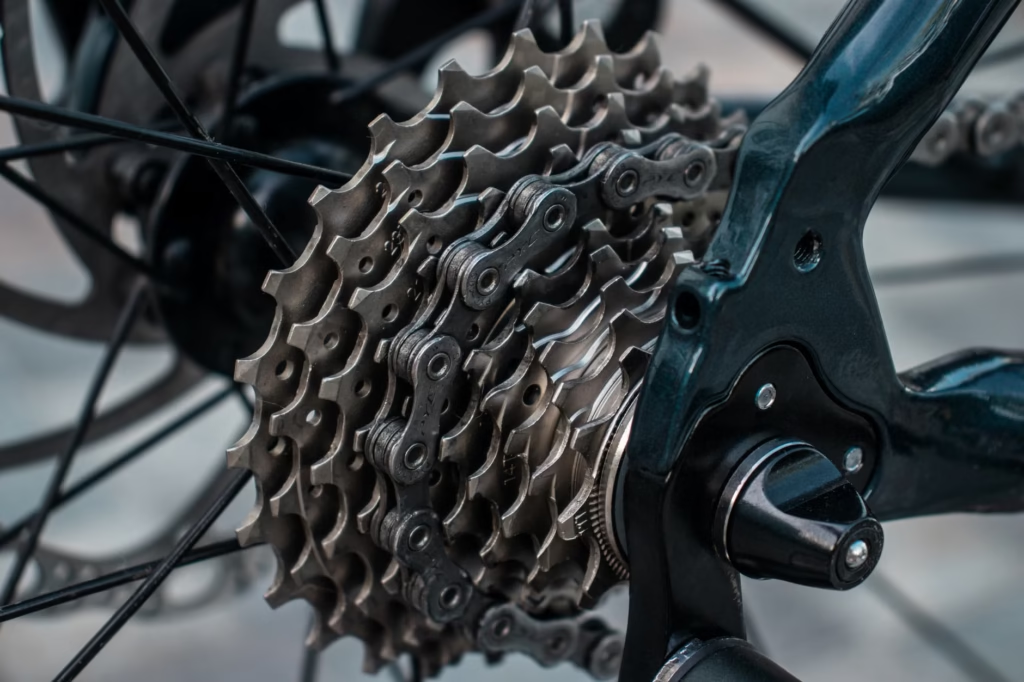
R: Check the rear wheel first. If your rear wheel isn’t sitting completely on your dropouts or your axle or quick release isn’t tight enough for your cassette. When this occurs, the cassette will move in relation to your derailleur which will cause index shifting problems immediately. This happens very frequently after you have had your bike serviced with tires, or travel on a rack or hit your bike while driving your car. If you have experienced symptoms that have changed after you have removed and then put your rear wheel back on multiple times, do not touch the barrel adjuster at that time. You should reinstall the wheel precisely and test your axle and your hanger hardware.
E: The most common unrecognised cause of shifting issues is the derailleur hanger since Park Tool’s repair guidance recommends visual alignment checks for derailleur hangers and provides more specific guidance for modern 12-speed bikes, stating visual inspection is insufficient. A very slight abrasion to the hanger can cause more difficult-to-detect yet extremely frustrating shifts, where some gears may shift cleanly but 1 or 2 may always shift hesitantly, jerkily or overshift regardless of how accurately you align them.
S: It is possible for cable and housing friction to produce symptoms similar to poor indexing; such as frayed cables, kinked housing, dirty ferrules, corrosion, or sticky derailleur pivots which create lag in the forward direction (and sluggish return) of the cable/housing combination. Therefore, a bicycle may have difficulty indexing up but drops off quickly (or vice versa). In addition to eliminating cable drag, with wireless systems, the importance of hardware alignment, chain gap and set-up increase as there is less mechanical play to conceal these defects.
E: Wear is where the money usually gets lost. A worn chain shifts poorly, and if you keep riding it, it starts wearing the cassette and chainrings faster. Park Tool’s general chain-wear guidance is a practical benchmark: many 11- to 13-speed chains are replaced around 0.5% wear, while many 5- to 10-speed chains are replaced around 0.75%, unless the drivetrain maker says otherwise. SRAM’s chain documentation also emphasizes replacing chains before wear compounds. If a new chain skips under load on the old cassette, the cassette is often the next part that has already aged out.
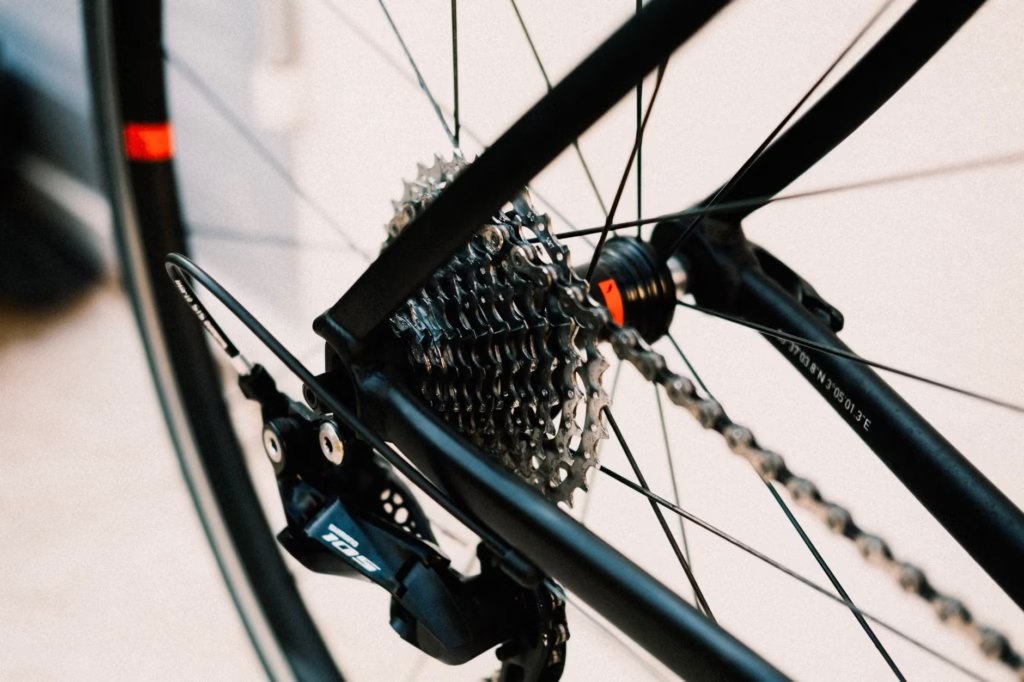
The final adjustment is not the first item to adjust when in the Tension section on a Shimano derailleur and setup. The setup process for a Shimano derailleur is detailed in both the Shimano Derailleur Setup Sequence and SRAM. Both resources put real weight on the clearance between the upper pulley, the length of the chain, and the limit of the derailleur’s position. If the chain is the wrong length or the gap between the pulley and cassette is not correct, the bike may feel almost shifted correctly across the entire cassette, but a rider will still be having issues with the shifting experience. Riders refer to this as an adjustment issue, when it is really an adjustment order issue.
Price examples below use published product and service pages accessed on June 28, 2026. They are illustrations, not quotes for your local shop. Labor and parts pricing vary by market and brand.
A realistic repair-budget example
Suppose a rider with a 12-speed road bike pays for two derailleur adjustments because the bike keeps getting noisy again. Using one published shop example, an REI bike shop page lists derailleur adjustment at $35 for a non-member. Two visits is $70. If the real issue is chain wear, that rider may still need a $50 SRAM Rival chain. If the worn chain has already damaged the cassette, the next hit can be a $145 Rival XG-1250 cassette. A $19.95 chain checker, or even a one-time measurement before more tweaking, would likely have been the cheaper decision. The lesson is not that everyone should buy tools. The lesson is that measuring the likely failure point first is usually cheaper than paying for repeat tuning on a worn system.
Where to spend first
| What you notice | Best next spend | Why this is usually cheaper | Escalate when |
|---|---|---|---|
| Shifting got worse gradually over time | Measure chain wear first | Wear is easy to miss and much cheaper to catch before it eats the cassette | A new chain still skips under load |
| Problems started after a fall, tip-over, or travel | Pay for a hanger alignment check unless you already own the tool | A slight hanger bend can defeat every adjustment you make | The bike has an integrated hanger, carbon frame concerns, or obvious derailleur damage |
| The bike shifts differently after wheel removal | Spend nothing yet; reseat the wheel and axle carefully | Wheel position changes indexing for free, so check the free fix first | Symptoms return even with careful wheel installation |
| One direction shifts slower than the other | Inspect or replace cable and housing, or have a shop do it | Drag often masquerades as a tension problem | Routing is internal, corroded, or the housing is visibly damaged |
| You recently changed cassette size or mixed drivetrain parts | Verify chain length, chain gap, and compatibility before more tuning | Wrong setup can feel almost adjusted forever | You cannot confirm exact part compatibility or the chain was sized off an old, questionable chain |
The lowest-cost reset sequence
- Clean the drivetrain enough to diagnose it. Remove built-up grime from the cassette, chain, and pulley wheels, then lubricate the chain lightly. Dirty parts can imitate rough shifting.
- Reinstall the rear wheel carefully and secure the axle or quick release properly. Then check that the derailleur and hanger hardware feel solid.
- Measure chain wear before fine-tuning. If the chain is at or beyond the service point for your drivetrain, replace it first.
- If the bike had any impact, or if only certain gears refuse to behave, check hanger alignment or ask a shop to measure it. Do not rely on a visual check alone.
- For mechanical systems, inspect the cable and housing for frays, kinks, corrosion, crushed sections, or drag. For electronic systems, confirm battery status and manufacturer-specific setup steps.
- Set chain length, B-tension or chain gap, and limit screws according to the drivetrain maker’s sequence. Only after that should you adjust cable tension or electronic trim.
- Road-test under load. If it only works in the stand, you are not done diagnosing yet.

Common mistakes that keep the bike from ever feeling right
- Using the barrel adjuster to hide a bent hanger.
- Adjusting a dirty drivetrain and mistaking contamination for a setup problem.
- Replacing only the chain after very long wear and assuming any skipping is still an adjustment issue.
- Sizing a new chain by copying an old chain that may already have been the wrong length.
- Ignoring wheel seating and axle tightness after removing the rear wheel.
- Assuming one bad cog means the whole derailleur is bad.
- Mixing cassette, derailleur, chain, and shifter parts without confirming compatibility.
- Declaring the bike fixed before testing it under real pedal load.
When a simple tune-up is not enough
Sometimes the issue is outside of the adjustment ranges for the derailleur. In addition to the derailleur, when you check the rear gearing of SRAM for service, you should check many other components, such as cassette tightness, wheel thru-axle or quick release tightness, freehub bearing play, and wheel bearing play. If any of the components mentioned above has play, such as play in your rear hub, bent derailleur cage, cassette that is loose, damaged pulley wheels, or bad freehub, it may feel like your bike is out of tune, but in reality, that is due to movement in other parts of the bike.
This is also where DIY economics change. A full-size hanger alignment gauge like Park Tool’s DAG-3 is listed at $148.95. That can make sense if you maintain several bikes, travel with bikes often, or regularly wrench at home. If you own one bike and need the tool only once in a while, paying for a shop diagnostic or alignment check is often the better spend. Shimano’s manual library notes that dealer manuals are intended primarily for professional bicycle mechanics, which is a useful reminder that some drivetrain procedures move beyond casual home maintenance pretty quickly.
How to verify the fix before the next ride
- Shift through the full cassette in both directions more than once while the bike is in a stand. Look for hesitation, overshift, or one stubborn cog.
- Remove and reinstall the rear wheel, then repeat the test. If the shifting changes, revisit wheel seating, axle tightness, or hanger alignment.
- Do a short ride with real pedal load, including the largest and smallest cogs. Load is where wear and alignment problems usually reappear.
- Listen for patterns, not random noise. Trouble only at one end of the cassette points you toward setup; trouble in favorite middle cogs often points toward wear.
- Recheck after the next few rides. If the indexing drifts quickly again, cable bedding, unresolved drag, or a still-hidden root cause is likely.
Bottom line
If your gears are always out-of-adjustment, stop adjusting them. Follow this simple process to save money on repairs; check your wheel seating, check for chain wear, check for hanger alignment, remove any cable or system drag, find out how long your chain is & how much gap you have between chain and frame, & finally adjust your indexing. You will probably have issues with repeated shifting due to tuning around a bent, worn, loose, or incorrectly assembled component.
FAQ
Why does my bike shift fine on the stand but badly on the road?
When there is less load on an exercise bike, it can mask potential issues. However, there will be more pronounced signs of wear (left at an upper chain) or misalignment of the rear derailleur (shown by an increased number of chain gaps) when a rider is using the bike under typical pedal resistance. If a stand test yields a better indexing than a ride test, consider possible wear or alignment issues before index tweaking again.
Can a brand-new cable still cause rough shifting?
Yes. New cables may not fully settle; the ends of the housing may not have seated well; there may be too much tension in the routing of the cable; and there may even have been a bent or broken section of cable from day one. New cables do NOT always mean low-friction!
If only one or two gears are noisy, does that mean I need a new cassette?
That depends! Sometimes a misaligned hanger can create a different amount of play in certain gears versus others; and, if there are set up issues then these will typically happen at the end of the cassette. But if you find that your new chain skips under load on several of the same cog then you have likely worn out your cassette.
Is buying a hanger alignment tool worth it?
Usually only if you work on multiple derailleur bikes or expect to use it repeatedly. For occasional use, a shop check is often the cheaper choice than buying a $148.95 alignment gauge.
Do electronic drivetrains rule out the usual causes of poor shifting?
No. Electronic systems remove cable friction, but they do not remove hanger alignment issues, chain wear, cassette wear, wheel-seating problems, chain-gap setup, or compatibility mistakes.
What should I ask a shop to check if I am tired of repeat adjustments?
Request a diagnosis of the drivetrain, rather than only the adjustment. Ask specifically for chain wear measurement, derailleur hanger alignment, condition of the cassette, cable or housing drag if mechanical, wheel/hub play, and chain gap and length verification.
References
- Shimano Manuals & Technical Documents
- Shimano Dealer’s Manual: Road Rear Derailleur DM-RD0003-09
- SRAM Tech Tips and Tuning
- SRAM support: Why doesn’t SRAM AXS offer rear derailleur MicroAdjust for individual cassette cogs?
- SRAM support: How do I set up my SRAM Eagle rear derailleur correctly?
- SRAM Chains user manual
- Park Tool: Rear Derailleur Hanger Alignment
- Park Tool: CC-4.2 Chain Checker
- Park Tool: When to Replace a Worn Chain
- Park Tool: DAG-3 Derailleur Hanger Alignment Gauge
- SRAM Rival Chain MSRP page
- SRAM Rival XG-1250 Cassette MSRP page