
The bike repairs that sting most usually are not the dramatic ones. They are the preventable ones: the chain that quietly ate a cassette, the low tire that turned one pothole into a rim hit, or the brake pads that were ignored until braking performance dropped and other parts started wearing with them. A weekly check will not replace a mechanic, but it can catch cheap wear items before they start consuming the expensive ones. Trek’s current owner’s manual calls for a safety check before every ride, and guidance from Trek, Shimano, SRAM, and REI all points riders toward regular inspection of tires, brakes, chains, wheels, and hardware. (media.trekbikes.com)
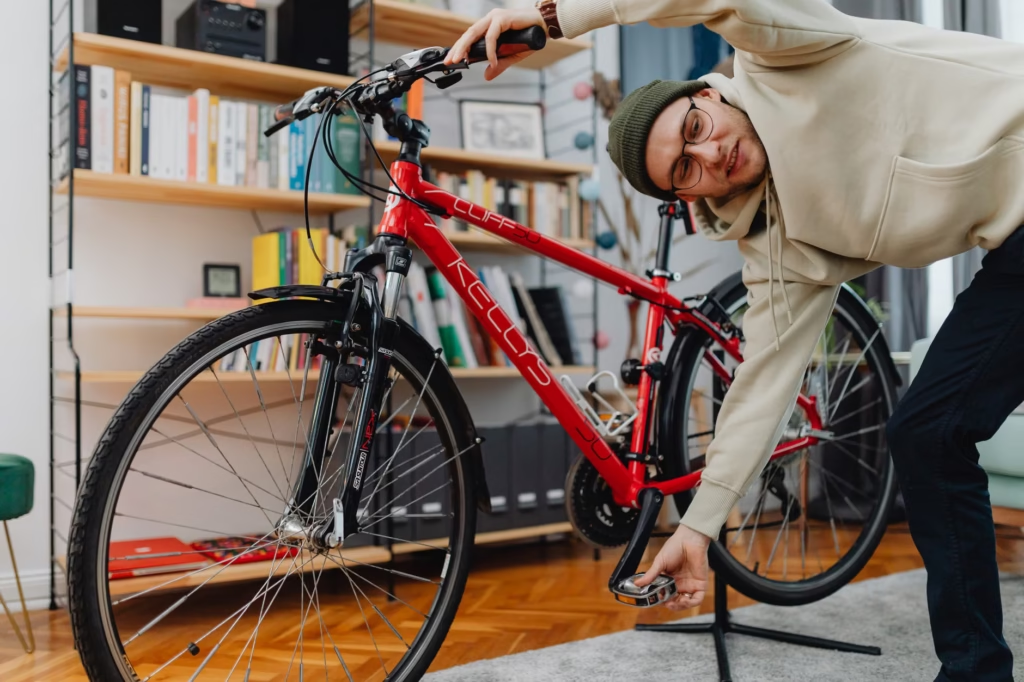
This article is for routine home inspection, not structural, hydraulic, or crash repair. If your bike has carbon damage, a brake fluid leak, frayed cables, a loose crank, or post-crash problems, stop riding and use a qualified bike shop. (media.trekbikes.com)
- Use a quick pre-ride glance every time you ride, then do a deeper weekly check to catch tire damage, wheel issues, chain wear, brake wear, and loose hardware before they escalate. (media.trekbikes.com)
- Check tire pressure with a gauge and use the lower of the tire or rim pressure limits. Inspect the tread and sidewalls at the same time. (media.trekbikes.com)
- Keep the chain clean, lightly lubricated, and checked for wear. SRAM says replacing a worn chain before it reaches 0.80% wear helps extend cassette and chainring life. (support.sram.com)
- Do not use a pressure washer, and do not guess on critical bolt tightness if you do not know the torque spec. (media.trekbikes.com)
- If the bike wobbles, makes a new noise, has crash damage, or a brake or wheel problem scores as severe, stop riding and get it inspected. (media.trekbikes.com)
Why a weekly check saves more money than a seasonal tune-up
A lot of riders think maintenance means one big spring service. For safety, that is incomplete. For money, it is often backwards. Cheap sacrificial parts like chains, brake pads, tubes, and tires wear gradually. Replacing them on time helps protect the pricier parts they touch: cassettes, chainrings, rims, rotors, and sometimes the frame or fork area around them. Trek’s manual specifically tells riders to inspect tires, spokes, cables, chain, rims, pedals, crank, and hardware regularly, and SRAM says early chain replacement helps preserve cassette and chainring life. (media.trekbikes.com)
The personal finance rule here is simple: treat low-cost wear parts as a shield for high-cost parts. Call it the $50-to-$100 rule. If a part that is usually inexpensive can directly damage a part that is commonly much more expensive, replace the cheap part early and without drama. Chains, pads, and tires all fit that category. The goal is not to make your bike showroom-perfect. The goal is to keep repair spending small, boring, and predictable.
Use the WRENCH scorecard once a week
WRENCH includes Weekly Six-Part Scorecards for all 6 categories of parts: Wheels; Rubber; Brakes; Noise & Play; Chain; Hardware. Each of these categories get scored as 0, 1 or 2. A score of 0 means The Item is Ready to Ride; A score of 1 means The Item Needs Fixed by the End of the Week; A score of 2 means You Should Not Ride The Item Until The Item is Fixed or is Safe to Ride After a Shop Assessment. DO NOT TRY TO REASON THAT You Will Take a “Short Ride Anyway” If Either Your Brakes or Your Wheels Are Scored At (2). These Will Likely Be The Two Categories That Will Turn Your Next Decent Ride Into A Stranded Ride or Crash.
| Scorecard item | What to check in under a minute | How to score it | What expensive problem it helps prevent |
|---|---|---|---|
| W – Wheels | Spin each wheel. It should run straight. Check that the axle, quick release, or thru-axle is fully secure and that the wheel is seated correctly. (media.trekbikes.com) | 0 = straight and secure; 1 = light rub or small wobble; 2 = loose axle, big wobble, broken spoke, or wheel will not stay centered | Rim damage, rotor rub, spoke failure, and loose-wheel emergencies |
| R – Rubber | Use a gauge, not your thumb. Inflate to the pressure on the tire or rim, whichever is lower. Look for cuts, cracks, casing threads, thin tread, and embedded glass. Underinflation can cause pinch flats. (media.trekbikes.com) | 0 = pressure and tread look right; 1 = needs air or has minor debris or cosmetic wear; 2 = casing threads, deep cuts, repeated air loss, or sidewall damage | Flat-tire runs, rim strikes, tire blowouts, and repeated tube replacement |
| E – Engage brakes | Squeeze both levers and roll the bike. The brakes should engage firmly and predictably. Inspect pad wear using your brake maker’s spec. REI says levers should not pull all the way to the grips. SRAM says replace disc pads at 3 mm total thickness or less, while Shimano manuals commonly call for at least 0.5 mm of pad material and replacement when wear indicators are visible. (rei.com) | 0 = firm, quiet, consistent; 1 = weaker than usual or due for pads soon; 2 = lever nearly bottoms out, severe rub, contamination, or pads at replacement point | Rotor wear, weak braking, emergency shop work, and preventable parts replacement |
| N – Noise and play | Wiggle the crank, pedals, saddle, and handlebar. Listen during a short roll. Trek says if the bike wobbles, shakes, or makes a new noise, stop and identify the problem. (media.trekbikes.com) | 0 = no movement, no new sounds; 1 = faint click or slight play to monitor; 2 = clear looseness, grinding, wobble, or recurring noise under load | Bearing damage, loose-part failure, and “mystery” shop bills that started as a small adjustment |
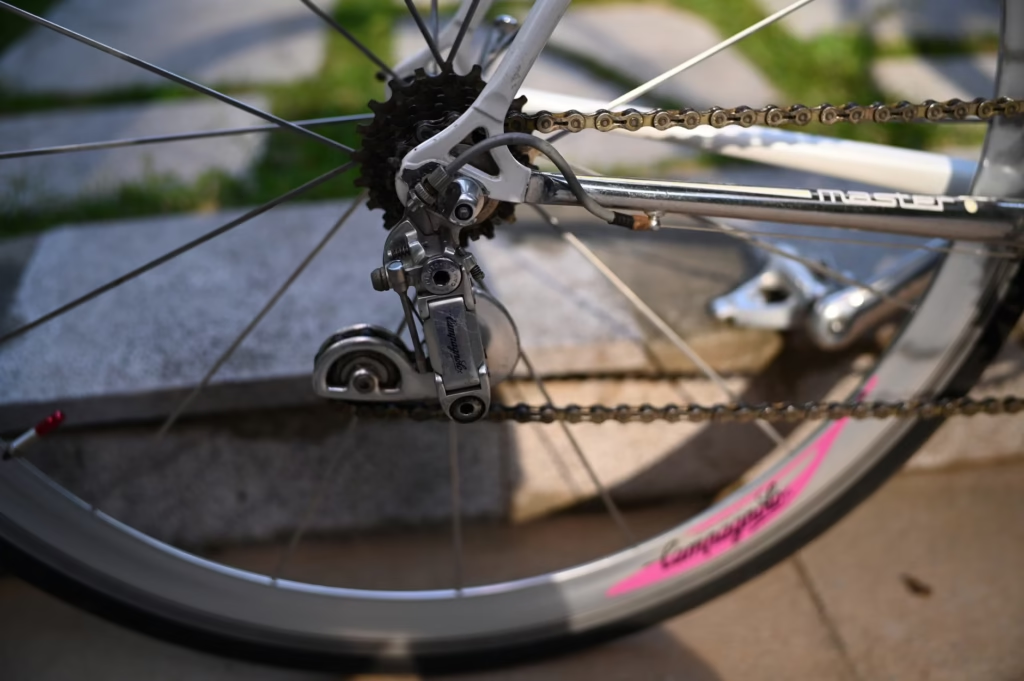
| C – Chain | Pedal backward and watch the chain run through the drivetrain. Clean when dirty, lube lightly when dry, and check wear regularly with the right gauge for your drivetrain. SRAM says replacing a worn chain before 0.80% wear extends cassette and chainring life; Shimano says to clean regularly with an appropriate chain cleaner and avoid harsh solvents. (support.sram.com) | 0 = quiet and smooth; 1 = dry, dirty, or due for a wear check; 2 = skipping, stiff links, obvious rust, or wear at the maker’s replacement point | Cassette and chainring wear, poor shifting, and drivetrain replacement |
| H – Hardware | Check the parts you actually touch and load: stem, seatpost clamp, saddle, racks, fenders, bottle cages, child-seat mounts, and lights. Trek notes that critical bolt tightness depends on correct torque specs and that accessories near wheels must be secure. (media.trekbikes.com) | 0 = secure; 1 = needs minor adjustment; 2 = loose contact point, shifting accessory, or anything that could hit a wheel | Damaged contact points, stripped bolts, detached accessories, and wheel jams |
Two important fine-print points: chain wear numbers are drivetrain-specific, and brake pad replacement numbers are brake-specific. That is why the scorecard tells you to check the maker’s spec rather than copy one number across every bike. SRAM’s current guidance for Eagle and RED AXS chains uses 0.80% wear on an approved checker, while Shimano and SRAM brake guidance use different pad measurements. The weekly habit is universal. The exact replacement point is not. (support.sram.com)
Your seven-minute weekly routine
- Start at the front wheel and move clockwise around the bike. A fixed order matters because you are less likely to forget something when you are rushed.
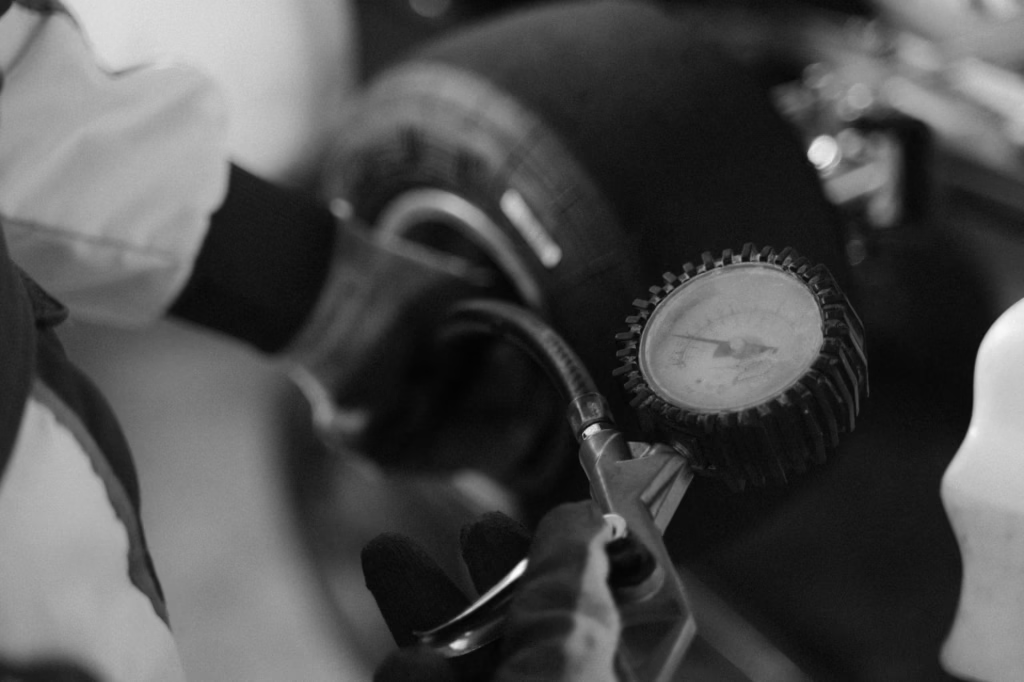
- Check both tires with a gauge. Inflate to the tire or rim limit, whichever is lower. While the pump is out, inspect tread, sidewalls, and anything embedded in the rubber. (media.trekbikes.com)
- Squeeze both brake levers and roll the bike forward and back. If a lever feels soft, reaches too close to the bar, or braking is weaker than usual, that is not a “watch it later” problem. (rei.com)
- Spin both wheels. Look for wobble, rubbing, or a wheel that seems slightly off-center. Confirm that quick releases or thru-axles are fully secure. (media.trekbikes.com)
- Pedal backward and inspect the chain. If it is dry or noisy, clean and lube it lightly. Wipe off the excess. Do not let lube touch the rotor or rim braking surface. (media.trekbikes.com)
- Wiggle the crank, pedals, saddle, and bars. Then check racks, fenders, lights, and bags for anything loose enough to shift or contact a wheel. (media.trekbikes.com)
- Finish with a 60-second test ride or parking-lot roll. Use all the gears you normally use and both brakes. If the bike feels different from last week, take that seriously. (media.trekbikes.com)
A realistic cost example
Consider a composite rider: Maya commutes about 70 miles a week on an 11-speed hybrid and rides year-round. On June 28, 2026, Park Tool listed its CC-3.2 chain checker at $12.95. REI listed a Shimano CN-HG601 11-speed chain at $39, and REI’s current Shimano cassette listings ranged from about $77.93 for an Ultegra 11-speed cassette to $130 for a Deore XT M8000 11-speed cassette. If Maya catches chain wear early, her next drivetrain spend may stay close to the $39 chain. If she waits until skipping starts and the cassette is already worn, she may be looking at roughly $116.93 to $169 in chain-plus-cassette parts before labor. (parktool.com)
The reason for having a weekly check is not to establish a rule for how clean everything should be; it is to detect that the inexpensive part on your vehicle is still inexpensive. The cost of purchasing a one-time tool and spending a few minutes inspecting and cleaning that part is usually much less than the cost of replacing numerous drive train items simultaneously.
Common mistakes that quietly grow the repair bill
- Using a pressure washer or blasting water at bearings, hubs, bottom bracket areas, or e-bike electrical parts. Trek specifically warns against high-pressure washing. (media.trekbikes.com)
- Adding fresh lube to a filthy chain and leaving the excess on it. Dirt accelerates wear, and excess lube attracts more dirt. (media.trekbikes.com)
- Trusting a squeeze test instead of a gauge for tire pressure. Tire pressure is one of the easiest ways to help prevent repeat flats and rim hits. (media.trekbikes.com)
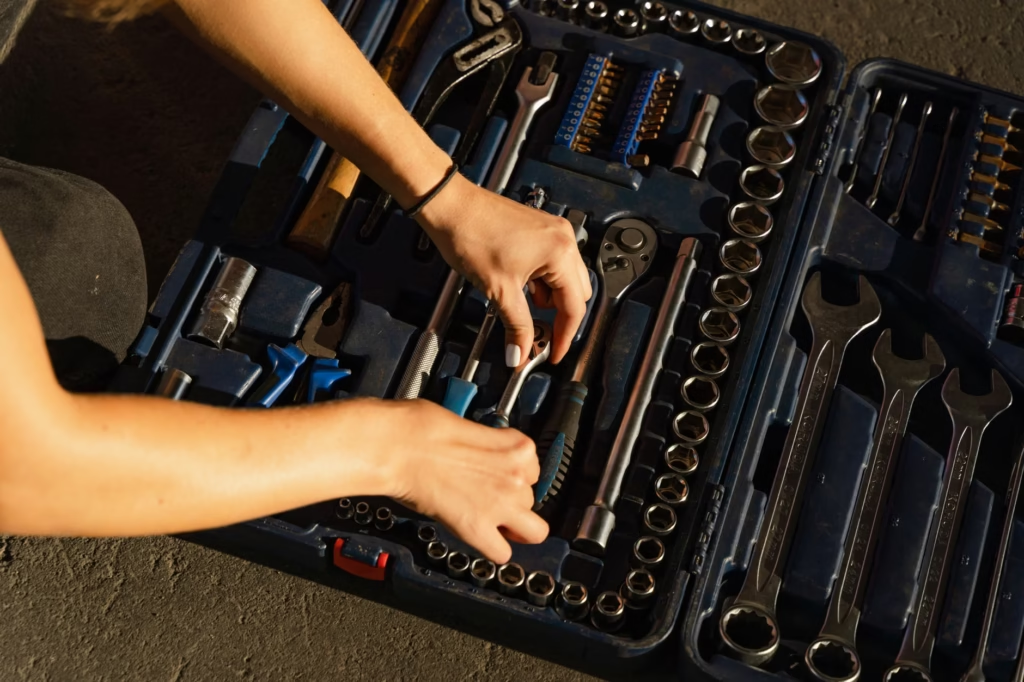
- Guessing on bolt tightness for a stem, seatpost, brake lever, or loaded accessory without knowing the correct torque. Trek says a torque wrench is the reliable way to verify tightness. (media.trekbikes.com)
- Riding through new noises, wheel wobble, or post-crash damage because the bike still moves. Trek says unusual behavior or sounds are a reason to stop and identify the problem. (media.trekbikes.com)
When the weekly check is not enough
A weekly check is a filter, not a full diagnostic. It will not replace a professional look at crash damage, carbon parts, hydraulic brake problems, bearing adjustment, tubeless setup compatibility, or recurring wheel-true issues. Trek’s manual says many repairs require special tools and skills, that only a shop should adjust bearings, and that tubeless setup can require specialized knowledge and components. If your bike has a frayed cable, a grinding hub, a loose crank, a deformed rotor, or any damage after an impact, the backup plan is simple: stop riding and book the repair. (media.trekbikes.com)
How to pressure-test your own routine
Your weekly routine works best when you audit it instead of assuming it is working. Keep a small note in your phone or a paper tag near your pump: tire pressure, chain lube date, any new sound, and anything you marked as a 1 on the WRENCH scorecard. Then compare your notes with a professional service visit. Trek recommends a full shop check about two months after buying a new bike and full service each year even if you did not ride much, with more frequent attention for heavier use. (media.trekbikes.com)
- If the same issue appears on two weekly checks in a row, escalate it. Repeated small problems usually are not random.
- At your next shop visit, ask for three numbers: chain wear, brake pad thickness, and whether the wheels are true. That gives you a simple way to calibrate your own eye.
- If you ride in rain, grit, or debris-heavy bike lanes, review tires and chain again after the ride instead of waiting a full week. (support.sram.com)
- If you transport your bike on a car rack or it tips over in storage, re-check wheels, bars, and accessories before the next ride. (media.trekbikes.com)
Bottom line
You don’t need to be an expert to figure out what your bicycle’s weekly check looks like, and you don’t want to be so technical with your weekly checks that you will quit doing them. Seven minutes spent checking the bike tires, wheels, brakes, chains, noise, and all other components will give you a complete picture of the bike’s condition. Replace inexpensive wear parts before they cause damage to the expensive parts. Creating this one habit won’t stop all repairs from happening, but you will be able to catch a substantial number of repairs that could have been avoided, as well as the rest of the repairs will now be easier to identify, budget, and fix before they become severe.
FAQ
How long should a weekly bike check take?
For most bicycles, it should take five to ten minutes. It’s not a comprehensive service, more a preventive maintenance routine that helps you spot obvious signs of wear loose or changing behaviour before they become bigger repairs.
Do I need a torque wrench for a weekly check?
Not for every quick inspection, but you do need one for critical bolts if you are going to tighten them yourself. Trek’s manual says a torque wrench is the reliable way to verify correct tightness, so if you do not know the spec or do not have the tool, use a shop for that step. (media.trekbikes.com)
How often should I lube my chain?
There is no single schedule that fits every rider. Shimano says maintenance intervals depend on use and riding conditions, and SRAM recommends cleaning after frequent or muddy or dusty riding and then lubricating the chain. A good practical rule is to lube based on condition: dry, noisy, or freshly cleaned chains get lube; filthy chains should be cleaned first. (si.shimano.com)
What is the first wear item most geared-bike riders should learn to monitor?
Usually the chain, because chain wear can shorten cassette and chainring life. SRAM’s current guidance explicitly says early chain replacement helps preserve those more expensive drivetrain parts. (support.sram.com)
Is this routine different for e-bikes?
The same weekly structure still works, but the stakes are higher because e-bikes are heavier and can wear consumable parts faster. Trek’s manual also says to inspect e-bike wires and connectors, confirm system operation, and avoid spraying water into electrical parts. (media.trekbikes.com)
References
- REI Expert Advice: Bike Maintenance Basics – https://www.rei.com/learn/expert-advice/bike-maintenance.html?msockid=095fcf7074496b6e1d44d91c75fb6acc
- REI Expert Advice: Pre-Ride Bike Inspection Checklist – https://www.rei.com/learn/expert-advice/pre-ride-inspection.html
- REI Expert Advice: How to Prevent a Flat Bike Tire – https://www.rei.com/learn/expert-advice/flat-tire-prevention.html?msockid=3c179717ed1b6dbe179a815aec8b6c5f
- Trek Bicycle Owner’s Manual, EN-US Rev6 Apr 2026 – https://media.trekbikes.com/image/upload/v1777060271/TrekBicycleOwnersManual_EN-US_Rev6_Apr2026.pdf
- SRAM Support: When should my SRAM brake pads be replaced? – https://support.sram.com/hc/en-us/articles/5927458875931-When-should-my-SRAM-brake-pads-be-replaced
- SRAM Support: How do I maximize the lifespan of my SRAM Eagle drivetrain? – https://support.sram.com/hc/en-us/articles/5928762465435-How-do-I-maximize-the-lifespan-of-my-SRAM-Eagle-drivetrain
- SRAM Support: When should the chain on my SRAM RED AXS groupset be replaced? – https://support.sram.com/hc/en-us/articles/25563525293339-When-should-the-chain-on-my-SRAM-RED-AXS-groupset-be-replaced
- SRAM Support: When should I replace my SRAM Eagle chain? – https://support.sram.com/hc/en-us/articles/5928711817755-When-should-I-replace-my-SRAM-Eagle-chain
- Shimano User’s Manual: Chain UM-0AH0A-007 – https://si.shimano.com/en/pdfs/um/0AH0A/UM-0AH0A-007-ENG.pdf
- Shimano User’s Manual: Hydraulic Disc Brake Lever UM-04L0A-000-00 – https://si.shimano.com/en/pdfs/um/04L0A/UM-04L0A-000-00-ENG.pdf
- Park Tool CC-3.2 Chain Wear Indicator – https://www.parktool.com/en-us/product/chain-wear-indicator-cc-3-2
- REI Product Page: Shimano CN-HG601 11-Speed Chain – https://www.rei.com/product/185704/shimano-cn-hg601-11-speed-chain