
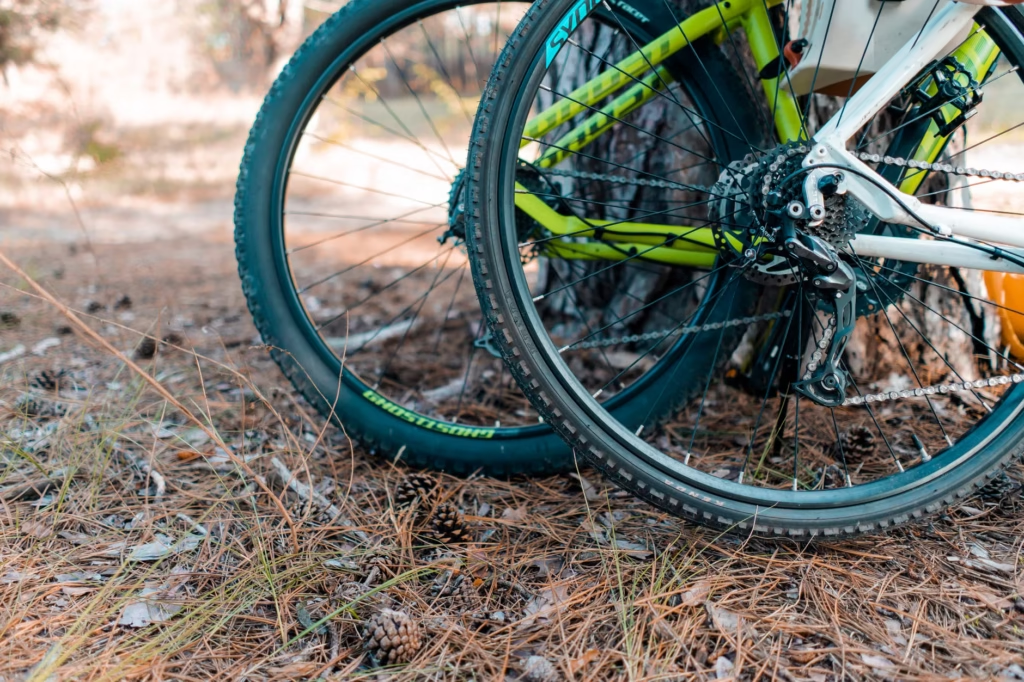
Choose a starting pressure that fits your loaded bike and stays within every applicable tire and rim limit, then adjust it in small, controlled increments. Don’t automatically choose the sidewall’s midpoint, or its maximum. That printed range describes constraints on the tire, not the pressure that will suit your weight, groceries, rims, and cracked pavement.
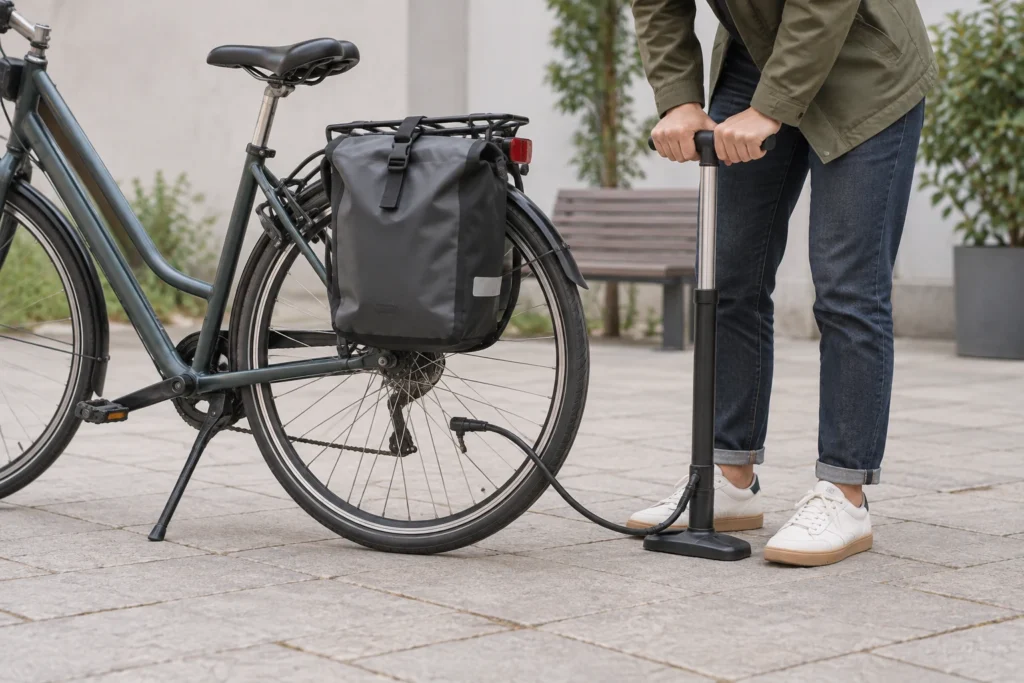
Picture me, in an imagined grocery-store parking lot, staring at a broad sidewall range while a pannier full of cans pulls at the rear rack. I’m tempted to let out air because the ride there rattled my hands. Then I notice the extra load. Annoying timing, but I’d check the loaded setup before treating yesterday’s pressure as today’s starting point.
First, find the limits for the whole wheel
There are other factors that come into play like internal width of the rim, hookless or hooked rims, tubeless or tube setups. Internal width is measured from the inside of the rim. The rim must be compatible with the tire. Pressure is dependent on the load and other factors.
For each wheel, write down its applicable pressure limits. The lowest maximum pressure applies; you need to meet every applicable minimum pressure. There are differences in wording: a maximum, a minimum, and a recommended pressure aren’t interchangeable. If the required minimum pressure is greater than the maximum pressure, there is no useable pressure interval. Don’t ride that combination. Resolve the conflicting requirements or change the incompatible component first.
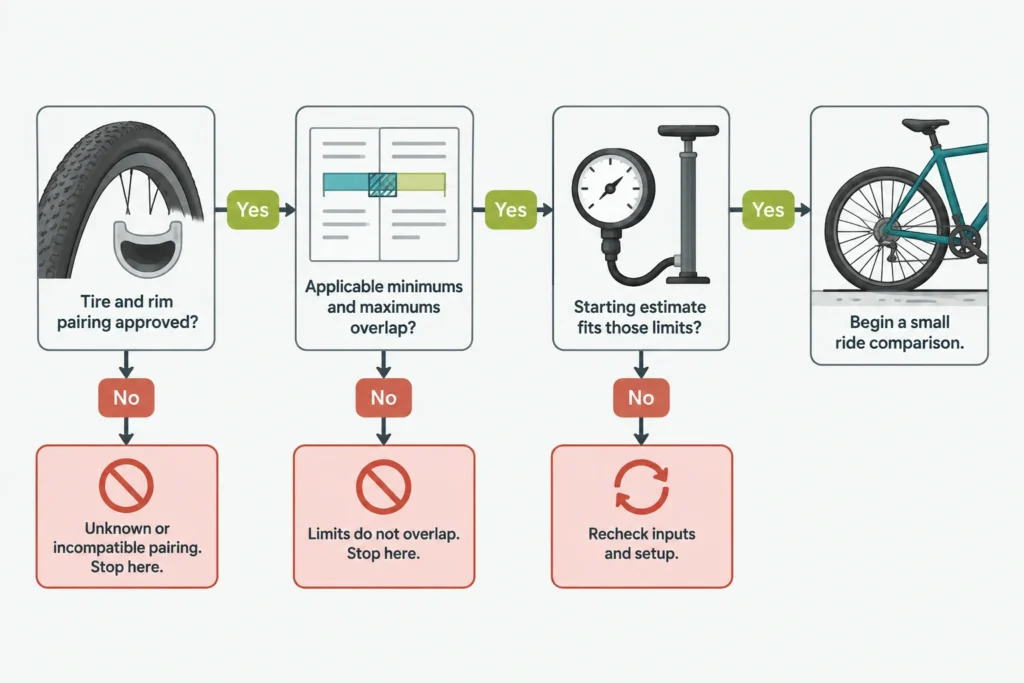
Hookless rims have no inward-projecting bead hooks, and approvals and restrictions for tire width and pressure for hookless rims need to be addressed specifically. Check the exact tire model and size against the rim’s approved combinations; there isn’t one hookless pressure ceiling that applies to all wheels. Adding a tube isn’t a workaround: Schwalbe hookless tires still require the approval of the tire for the rim for use with a tube. If the rim type and approval are unknown, postpone riding and have the wheel identified, as the missing information is concerning tire retention.
There are exceptions to printed minimums. For example, in the case of Schwalbe Aerothan Tubes, a lower pressure is allowed if the product documentation covers the exception. However, I would not extend that exception to allow the use of a TPU tube or a tubeless tire.
Choose a starting estimate for the trip you’re taking
More load generally requires more pressure in the same tire, because the tire deflects more under that load. A wider tire can generally support a given load at less pressure than a narrower one. That’s why the same sidewall range can accommodate riders who need quite different settings. Lower pressure allows the tire to deflect more, which can smooth out the ride when going over bumps and other uneven surfaces. However, too much deflection uses up the space between the tire and the road, which could lead to risk of pinch flats.
Use a manufacturer pressure calculator that covers your setup, such as SRAM/Zipp’s, as a starting estimate. Count rider, equipped bike, and carried gear without double-counting anything the tool already includes. For an illustrative load calculation, a 180-pound rider plus a 30-pound equipped bike and 10 pounds of gear totals 220 pounds. Add 20 pounds of groceries and it becomes 240 pounds. Those are weight inputs, not a formula for PSI.
Some calculators can specify the type of rim and/or tire you are using. For a measured-width input, measure the inflated, mounted tire with calipers; this may not match what is labeled on the sidewall of the tire. Do not substitute one convention for the other.
Front and rear pressure can differ because of load variations. Rear panniers, a front cargo box, and a passenger can all change load distribution. I wouldn’t use a fixed rear-to-front ratio. A heavily loaded cargo bike or a bike with a mixed wheel size may also fall outside of a calculator’s assumptions. What is probably missing then is a wheel-load input or a wheel size input, not a % correction that is guess work.
Look at both outputs and compare them to the limits you wrote down. A calculator can’t ensure component compatibility. It is also likely that, if the tool doesn’t account for your bike, its estimate will be outside of your permitted range. You need to check your inputs. Just because an estimate places you at the limit, it does not mean you have a load issue. If your estimate is near or above the limit, you may need a larger volume tire that is within your approved tire and rim pairing.
Make one small change you can actually judge
I prefer a repeatable, approximate comparison to an exact comparison of unknown value. Tires that are protected from punctures can feel fully inflated when they aren’t. Always use the same gauge to compare pressure, but don’t expect it to be extremely accurate. If you’re reading is close to an extreme value, or you doubt the gauge’s accuracy, compare the reading to a more trusted gauge. If the two gauges disagree, you don’t know which gauge is correct.
New squirm or steering issues after a pressure reduction are good reasons not to lower pressure further. It means that the tire is not seating evenly on the rim and will need to be inspected for issues. An impact felt hard on the tire can mean there is rim contact. If the tire is on a tube, the tube can absorb some of the impact and not result in a pinch flat. Tubeless tires remove the tube, but that does not mean there will not be damage to the tire or the rim. No pressure in a tire gives the best chance to survive a deep pothole, but if that pothole exists, there is a good chance that the tire will absorb some of the shock and spring back to its shape quickly which can also mean contact with the rim.
After suspected rim contact, stop somewhere out of traffic and inspect for pressure loss, casing cuts, bulges, and rim dents or cracks. Don’t ride on visible damage or a tire that won’t hold pressure. If damage or bead seating is uncertain, have the wheel inspected before continuing; simply adding air cannot establish that it survived intact.
Sudden tubeless air loss also needs diagnosis. A “burp” is air escaping at the tire-and-rim interface, and it can reflect bead or interface problems, not just low pressure. Stop, check pressure and seating, and resolve the cause rather than treating reinflation as the repair.
Save front and rear settings with the load description so that “work bag” is remembered rather than “my pressure”. Check the tire before setting off with a heavy load and check the tire pressure before taking off on a long trip.
Sources and references
- Schwalbe: Inflation Pressure
- Schwalbe: Hookless Compact
- Continental: Hookless vs. Hooked Rims
- SRAM / Zipp: How To Calculate Tire Pressure
- SILCA: Pro Tire Pressure Calculator for Cyclists
- ENVE: Tire Pressure
- Schwalbe: Aerothan Tube technical FAQ
- Michelin: The Michelin tire pressure guide for your bicycle (2026-07-24)
- Schwalbe: Tubeless technical FAQ
- ENVE: Hookless Beads Explained
- Kwiggle: Kwiggle operating instructions, section 7.3 (2023-10-01)