
TL;DR
- The accessories riders buy too late are usually safety gear, theft protection, and failure-prevention gear, not fun upgrades.
- Use the SAFE-ARRIVE Ladder in this article to rank purchases by safety, asset protection, failure-to-arrive risk, and everyday friction.
- For most commuters, the first wave is simple: a real light setup, a serious lock, a flat-and-fix kit, and a helmet that fits.
- Fenders and a cargo setup look less exciting, but they are often what turn occasional riding into a reliable weekday habit.
- If money is tight, buy boring gear before convenience gadgets. That order usually saves more money and frustration than the reverse.
The accessory most riders regret delaying is rarely the flashy one. It is the light set they bought after a dusk scare, the lock they upgraded after a theft attempt, the fenders they installed after arriving at work with a muddy stripe up the back of their shirt, or the flat kit they learned to value from the back seat of a last-minute rideshare. The CDC says nearly 1,000 bicyclists die each year in crashes involving a motor vehicle, and an estimated 120,000 are treated in emergency departments for nonfatal crash-related injuries. That is the serious side of the problem. The money side is quieter but familiar: late arrivals, emergency rides, damaged bags, deductible-sized theft losses, and cheap gear bought twice because the first version was too flimsy to trust. (cdc.gov)
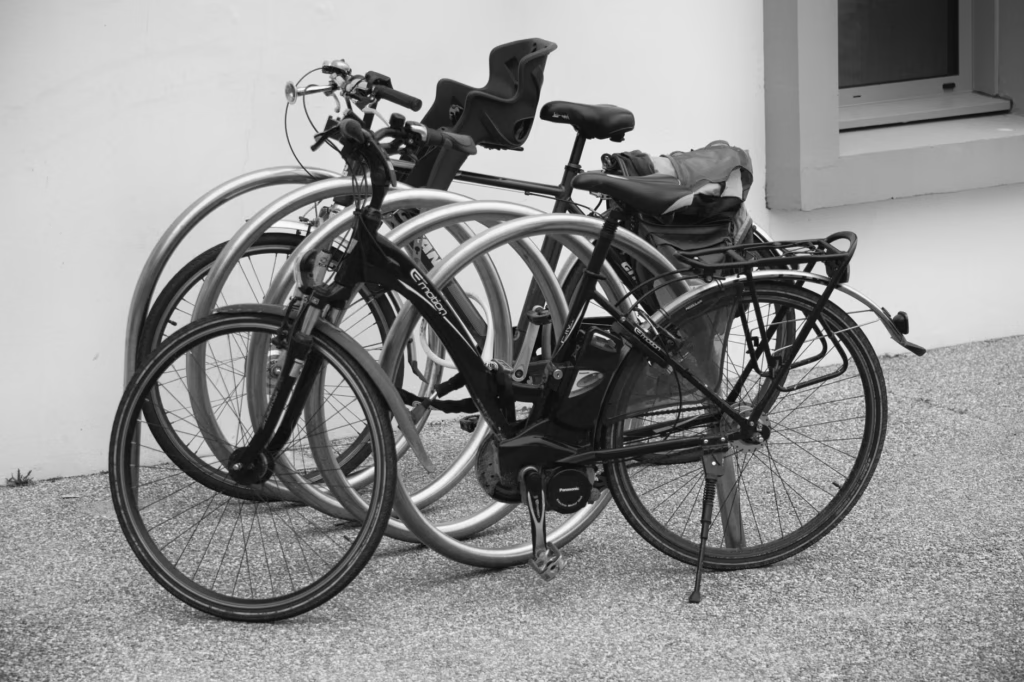
Why commuters keep making the same buying mistake
Typically, people who just begin commuting by bicycle often drop their money on fun or aesthetic items to start with. Things like bottle cages with cool or sleek designs, phone mounts, and nice saddle bags are the first purchases made. A commuter bicycle must perform differently than bicycles purchased for other purposes. It must start without any problems each day, be parked without issues and be able to withstand the stresses of a full workday while at the same time not requiring you to change clothes or have a backup plan when you get to your destination. Accessories can allow a bike to be used in more ways by eliminating failure points. If an accessory doesn’t necessarily create an appealing look for your bike but also doesn’t reduce your chances of injury or theft or helps you not to get left without a mode of transportation or means of transportation in extreme weather conditions, then you’ll probably want to wait to make that purchase until later on.
Use the SAFE-ARRIVE Ladder before you spend another dollar
Commuting gear has four risk categories, and those categories impact spending decisions on accessories. S is for safety, which means that you have a lower chance of having a crash or getting injured by following the rules of safety accessories when you ride. A is for Asset Protection, and as such, you are less likely to lose your bicycle or to lose anything you may have on your bicycle if you use good Asset Protection accessories. F is for an inability to arrive at your destination (failure to arrive); this means that you can prevent something small from becoming really big, like losing your job because you didn’t show up to work, missing your first date because you were late picking her up or paying a cabride home because you missed a scheduled pickup. E is for everyday friction (how fare you can make a commute as clean, efficient and repeatable as possible). Once you identify each of these types of accessories, take the ARRIVE test: Purchase the accessory if you encounter that issue on a weekly basis; if it’s seasonal, purchase that accessory before the next respective season begins and if you only have an intermittent experience with that accessory, you’ll be able to tolerate it for an extended period of time. The objective is to have the least amount of regret in terms of your purchases by purchasing the most appropriate accessory at the right time.
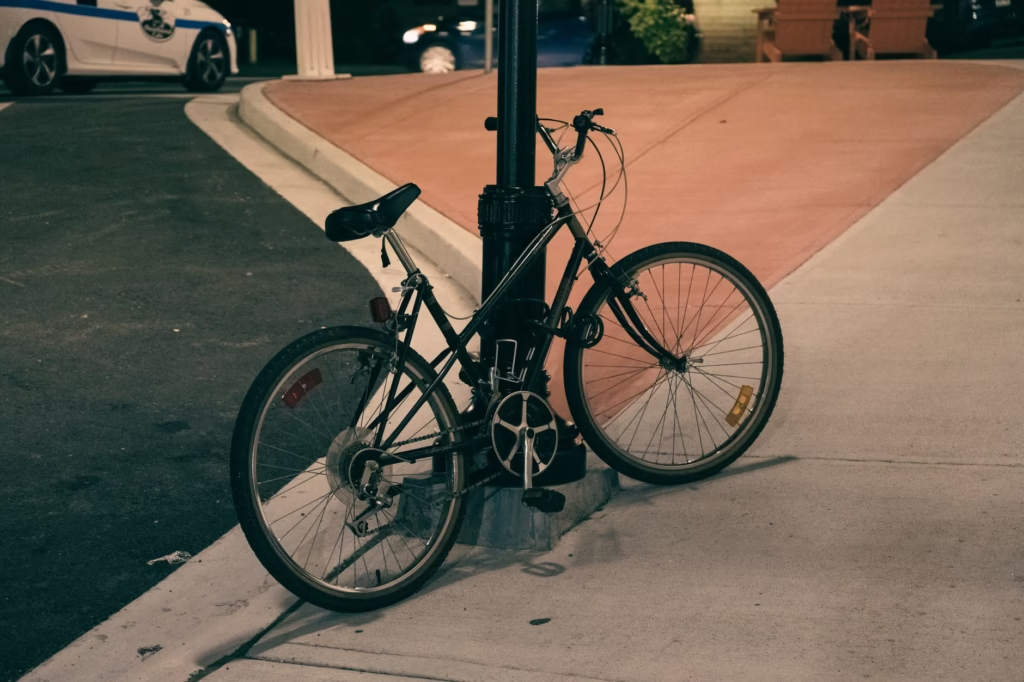
| Accessory | Main risk it cuts | Best buying moment | What waiting usually costs |
|---|---|---|---|
| Front and rear lights you will actually recharge | Safety and visibility | Before any regular dawn, dusk, night, or storm riding | One close call, dead batteries, or a pile of cheap replacement blinkers |
| U-lock plus a cable or second lock if wheels release quickly | Asset protection | Before parking outside work, school, or errands | Theft, a stolen wheel or saddle, or an insurance claim with a deductible |
| Flat-and-fix kit: tube, levers, mini pump or inflator, patch backup, multitool | Failure to arrive | Before the route is too far or too rushed to walk home | A paid ride home, a late arrival, or a walk in work clothes |
| Full-coverage fenders | Everyday friction and weather protection | Before wet season or frequent post-rain riding | Dirty cuffs, wet shoes, road grime on clothes, and a bike that feels high-maintenance |
| Rear rack and pannier or a secure basket | Everyday friction and asset protection | As soon as a backpack starts limiting what you carry | Sweat, shoulder strain, skipped rides, or poorly protected electronics |
| CPSC-compliant helmet that fits | Safety | Before every ride, not after a fall | An avoidable head-injury risk or a cheap helmet you do not trust enough to wear |
1) A real light setup, not a token blinker
Lights are one of the clearest late-buy accessories because many bikes already come with passive reflectors, and riders assume that means they are covered. It does not. The CPSC requires new bicycles sold in the US to have a combination of reflectors, but NHTSA recommends a white front light, a red rear light, and reflectors when riding at night or when visibility is poor. NHTSA also notes that more than half of bicyclist fatalities occur in dawn, dusk, or nighttime conditions. For commuting, the right buy is a front light strong enough to help you see road defects, a rear light that drivers can pick up quickly, and a charging routine simple enough that you will actually follow it. If your route includes unlit stretches, buy for seeing as well as being seen. USB-C charging, easy mounting, and reliable runtime matter more than novelty light modes. (nhtsa.gov)
2) A lock that matches your parking reality
Commuters often spend carefully on the bike and then protect it with a lock chosen like an afterthought. That is backward. If your bike sits outside an office or campus for hours, the lock is part of the bike’s total cost, not a side purchase. The Insurance Information Institute says bicycles are generally covered as personal property under standard homeowners and renters policies, but reimbursement is still reduced by your deductible, and coverage details vary. III’s theft guidance specifically recommends locking to a fixed, immovable object and using a U-lock. That is the practical money lesson too: a sturdier lock is often cheaper than the claim, the deductible, the replacement hassle, and the days you stop riding while you sort it out. If your wheels or saddle are quick-release, budget for a cable or second lock from the start. (iii.org)
Coverage, deductibles, exclusions, and limits vary by policy. Check your homeowners or renters policy before assuming a stolen commuter bike will be fully reimbursed. This article is general information, not insurance or legal advice. (iii.org)
3) A flat-and-fix kit you can use under pressure
The flat kit gets delayed because riders imagine they can always walk home. That works until the flat happens in office clothes, in summer heat, five miles from daycare pickup, or on the one morning you cannot be late. A commuter kit does not need to be elaborate: spare tube, tire levers, mini pump or inflator, patch backup, and a multitool. New York State DOT safety guidance recommends carrying a pump and patch kit for longer rides and says riders should expect the unexpected with a small tool kit on the bike. For commuting, the money case is straightforward. One stranded-ride fare can cost as much as the core repair kit. The important step is not just owning it. Practice one tube change at home, with the gloves and work bag you actually use, so the kit works on a rushed Wednesday instead of just living under the saddle. (dot.ny.gov)
4) Full-coverage fenders are not vanity gear
Everyone understands that fenders will be postponed because dry-weather test rides feel good. But the true lesson is learned during a rainy week, when road spray hits not only your back, but also your shoes, socks, drive train, bag and whichever lower half you wanted to wear to work. Commuters care less about how comfortable they are on the bike, and more about not getting filthy enough on the ride that they quit riding. If your bike has enough room and mounts for a full-coverage fender, get one before you buy a tiny clip-on that will only protect the frame, not the rider. If your bike does not have enough room, get the best partial solution and consider it a compromise rather than proof that fenders don’t matter.
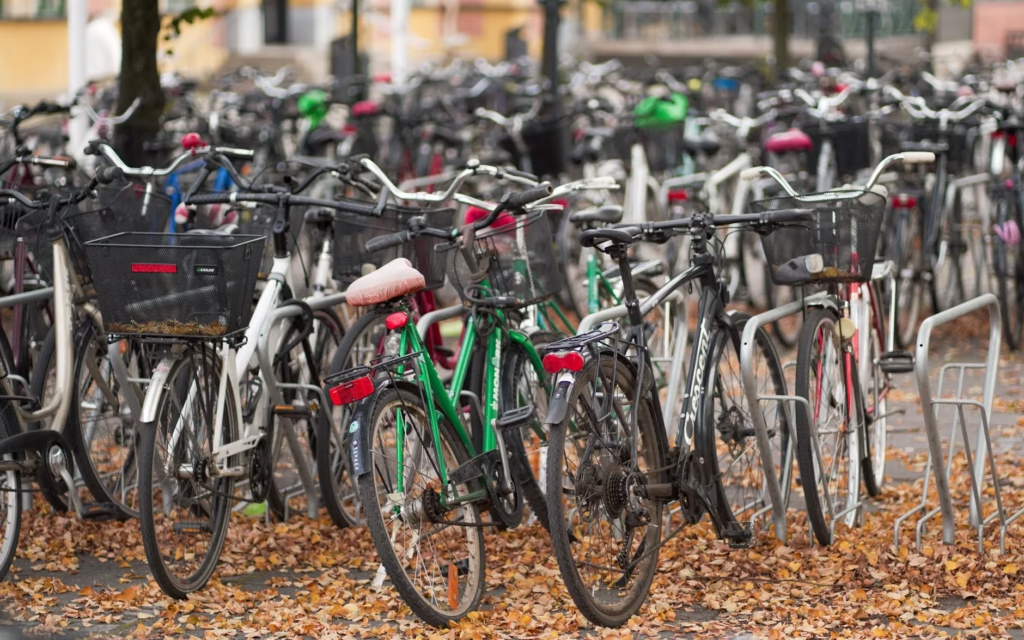
5) A cargo setup that gets weight off your body
Most people think about using a backpack when commuting on their bike. However, they don’t consider the costs associated with using a backpack. Sweat, shoulder strain, wrinkled clothing, and a constant urge to leave behind important items such as lunch, a lock, shoes, a repair kit, and extra clothing are all costs of using a backpack. Once you add a rear rack and a pannier (or the use of a stable basket), it no longer feels like a recreational bike but a practical form of transportation. If you carry a laptop, groceries, or work-related items more than once a week, having cargo will help to keep things in your possession and provide you with the same consistency as using your bike’s performance upgrades. In addition, using a cargo system will protect your electronic devices by keeping them out of your backpack and ensuring they will not get wet if you happen to ride through a rainstorm.
6) A properly fitted, CPSC-compliant helmet
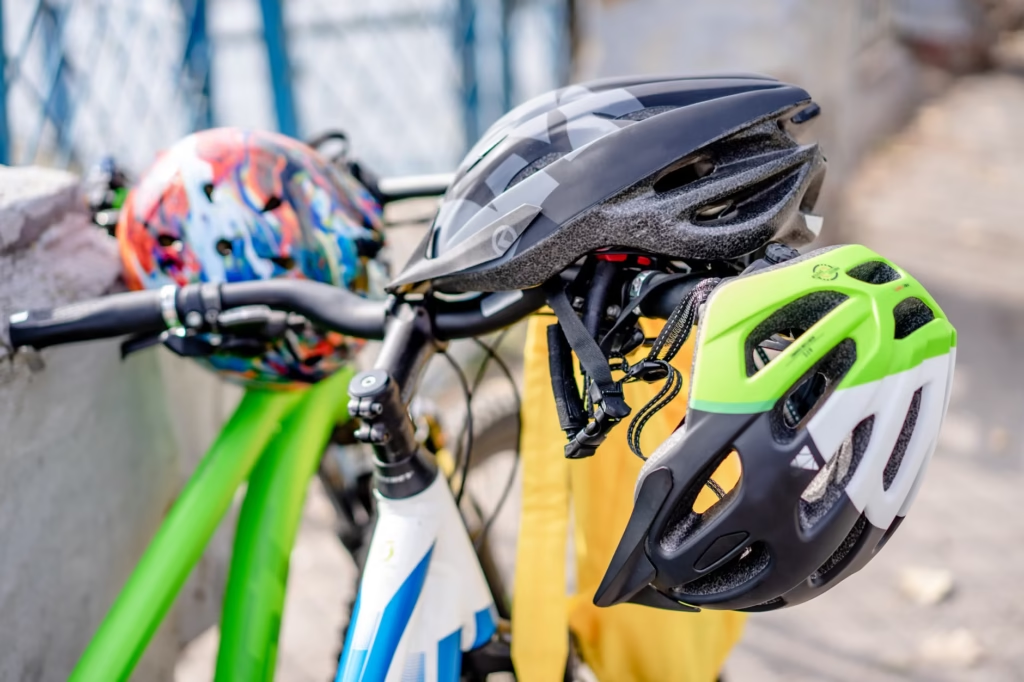
A helmet is obvious advice, but commuters still buy this one late in two ways: they delay buying one at all, or they buy the cheapest listing without checking fit, certification, or recall history. The CDC says bicycle helmets reduce the risk of head and brain injuries in a crash. NHTSA and CPSC both stress proper fit, and bike helmets sold in the US are required to meet the CPSC federal standard. Recent CPSC recalls and stop-use warnings are a reminder that not every online listing deserves your trust. The practical rule is simple: buy from a reputable seller, confirm CPSC compliance, make sure the helmet sits level and snug, and replace it after a crash or when it is damaged. (cdc.gov)
A realistic budget example
Consider a commuter with an $850 hybrid bike and a 7-mile round trip, ridden four days a week. She has room in the budget for only one early wave of accessories, so she buys what feels convenient first: a $35 phone mount and a $30 bottle setup. Within two months, she pays $29 for one emergency rideshare after a flat, replaces two flimsy lights at $18 each, and buys a last-minute rain shell that still leaves her pants soaked. Her delayed purchases turn out to be the predictable ones: $80 for dependable lights, $90 for a better lock, $45 for flat-kit basics, $65 for fenders, and $160 for a rack and waterproof pannier. Total accessory spend: $505, not counting the early purchases she would not prioritize in hindsight. The point is not that commuting has to be expensive. It is that the order matters. Spending the first $200 on risk-reducing gear usually saves more stress, duplicate buying, and lost time than spending that same $200 on gadgets.
If your budget is tight, buy in this order
- Buy a properly fitting helmet first if you do not already own one you trust enough to wear every ride.
- Next, buy front and rear lights before any regular low-light, rainy, or winter commuting.
- Then buy a serious lock matched to where the bike will sit. Add wheel or saddle security if your parts are easy to remove.
- Build a flat-and-fix kit and practice one repair at home before you need it outside.
- Add fenders before wet season, not in the middle of it.
- Upgrade to a rack and pannier or basket when a backpack starts making you skip rides or carry less than you need.
Common mistakes that make commuters spend twice
- Buying lights for maximum brightness alone while ignoring runtime, charging method, and whether you can mount them securely in seconds.
- Using a cable lock as the main defense for all-day outdoor parking when a U-lock should be the baseline.
- Carrying a spare tube without a pump or inflator, which is like keeping a spare tire in a car with no jack.
- Choosing tiny fashion fenders for a bike that could take full-coverage ones.
- Treating a backpack as a permanent cargo plan for laptop commuting instead of a temporary workaround.
- Ordering an unknown-brand helmet without checking CPSC compliance, seller reputation, or recall notices. (cpsc.gov)
- Waiting to test gear until the first rainy ride, the first dark ride, or the first roadside repair. By then, the lesson is usually more expensive.
When the obvious fix still is not enough
Sometimes the accessory is not the real problem. If your route depends on high-speed roads with poor bike space, brighter lights do not turn it into a good commute. If your office has chronic theft and no secure parking, a better lock may reduce risk without removing it. If your bike lacks mounts or tire clearance, the best commuter setup may require clip-on workarounds or, eventually, a more suitable bike. And if you ride an e-bike, add one more layer of caution: the CPSC advises following manufacturer directions, checking components including lights, tires, cables, and frame, and using visibility accessories such as headlamps, reflectors, and a bell or horn. In other words, buy the accessory, but also be honest about whether the route, parking situation, or bike itself is the real bottleneck. (cpsc.gov)
How to pressure-test your setup before Monday matters
The CPSC recommends checking key components such as brakes, lights, tires, cables, and frame before riding. Treat that as a commuter audit, not just a safety reminder. Run these tests on a low-stakes weekend, not on the morning you have no margin for error. (cpsc.gov)
- Do one dusk ride and confirm that your front light lets you see the road surface and your rear light is visible from behind, not blocked by a jacket or bag.
- Lock the bike at your usual rack for 10 minutes and make sure the frame and any quick-release components are actually secured.
- Unload and repack your flat kit, then do one full tube change at home with the tools you carry on the bike.
- Ride through one wet block, or simulate spray safely, and check whether your shoes, cuffs, and bag stay acceptably dry with your current fenders.
- Pack a normal workday load and decide whether your cargo setup changes what you are realistically willing to carry every day.
If a bike is part of your commute, essential accessories are transportation costs, not hobby spending. That mindset usually leads to a better buying order and fewer regret purchases.
Bottom line
Commuters tend to purchase accessories that help prevent avoidable incidents like low-light near misses, theft, flat tires, road dirt, and carrying cargo on themselves after they’ve already had them has been delayed. Start by addressing these risks. If an accessory: (1) will increase your safety; (2) will save you an expensive piece of property; and/or (3) will prevent you from losing a day of work, it should come before any convenience-type gadget. Many commuters eventually learn this lesson; but the best time to learn the lesson is before having the first bad commute.
Frequently asked questions
What is the first commuter bike accessory to buy if I already own a bike?
If you haven’t purchased and started using a helmet on each ride yet, that’s where to begin – it is the most important safety equipment. Next, lights and a good-quality lock are probably the next priority, since they will both increase safety and decrease the potential to lose your bicycle to a thief.
Do I really need fenders if I only ride when the forecast looks dry?
More often than not. Even after it stops raining, you may find wet road surfaces long after the last raindrop has fallen – especially when compared to most people – most ride during the week, so fenders may be worth the investment earlier than expected for those who want to show up clean and dry.
Is a backpack actually a bad idea for commuting?
Not all of the time. A backpack may work for short trips with lightweight items; however, if you frequently transport a laptop, lunch, shoes, and clothing layers, you lose the use of a backpack due to its limited capacity for weight distribution over long distances without adding another layer of moisture onto yourself each time you ride your bicycle. In these cases, using equipment like racks and racks will result in less sweat on you and help to make your bike rides more consistent.
Should I rely on renters or homeowners insurance instead of buying a better lock?
Usually no. A policy may help after theft, but coverage can be reduced by your deductible and may have limits or exclusions. A better lock is still the first line of defense, and you should review your own policy details before assuming coverage. (iii.org)
What belongs in the smallest useful flat kit for commuting?
You should carry at least one spare tire tube compatible with your type of tire, two tire levers, a small bicycle pump or an air inflator, and a spare patch. A small multi-tool adds additional capability to this general tool kit for all of those other little things that might need adjustment (like brake adjustments, tightening a rack to frame or removing a wheel).
How can I tell whether a helmet listing is trustworthy?
Buy from a reputable seller, verify that the helmet complies with the CPSC bicycle helmet standard, inspect labeling when it arrives, and check CPSC recall notices if anything looks off. If the price seems implausibly low or the listing is vague about certification, move on. (cpsc.gov)
References
- CDC: Bicycle Safety – https://www.cdc.gov/pedestrian-bike-safety/about/bicycle-safety.html
- NHTSA: Bicycle Safety – https://www.nhtsa.gov/road-safety/bicycle-safety
- NHTSA: Countermeasures That Work – Bicycle Safety – https://www.nhtsa.gov/book/countermeasures-that-work/bicycle-safety
- CPSC: Bicycles FAQ – https://www.cpsc.gov/FAQ/Bicycles
- CPSC: Micromobility Information Center – https://www.cpsc.gov/Safety-Education/Safety-Education-Centers/Micromobility-Information-Center
- NHTSA: Choosing a Bicycle Helmet – https://www.nhtsa.gov/sites/nhtsa.gov/files/2024-07/choosing-bike-helmet-safety.pdf
- Insurance Information Institute: Bicycle Safety and Insurance – https://www.iii.org/article/bicycle-safety-and-insurance
- NAIC: Homeowners Insurance – https://content.naic.org/insurance-topics/homeowners-insurance
- New York State DOT: Bicyclists Safety – https://www.dot.ny.gov/regional-offices/region8/other-topics/bycyclist-safety