
The majority of unhappy bike commutes come from a lack of technical knowledge rather than from lack of fitness. Riding to work is relatively easy until your laptop heats up your backpack like a sauna, your rear light doesn’t work (or has been stolen), your trousers are stained with chain grease, or you are concerned, throughout your workday, about your bicycle being stolen. A well-designed commuter setup will solve these problems in a logical sequence.
For city riding, the smartest spending order is usually reliability, visibility, cargo, weather control, and parking security. NHTSA says to ride a bike that fits and works, wear equipment that protects you and makes you more visible, and use a white front light, red rear light, and reflectors at night or when visibility is poor. It also notes that nearly three-quarters of bicyclist deaths occur in urban areas. (nhtsa.gov)
- If money is tight, fix the failures that stop rides from happening first: brakes, tires, lights, lock, and cargo.
- A city-ready setup usually means a bike that fits, a CPSC-compliant helmet, front and rear lights, a real lock, a way to carry your stuff, and fenders if roads are often wet or dirty. (nhtsa.gov)
- Use the CALM Commute Scorecard below. Anything under 5 out of 8 needs work before you spend on comfort extras.
- A modest gear upgrade can beat an expensive bike if it makes the ride dependable enough to replace transit, parking, or rideshare costs.
- Bike, lighting, and sidewalk rules vary by city and state, so check local law before you rely on any route or setup. (nhtsa.gov)
Build around friction, not performance
A commuting bicycle is not a racing bicycle with a rucksack; it is a mode of transport. Therefore, you will have the best setup when it enables you to arrive dry enough, visible enough and cool enough to carry on with the rest of your day. Many cyclists spend too much money on their bicycles but do not spend enough on those supplementary items that will allow them to make commuting work repeatedly.
It is simply finance that states you may spend a lot of money to quit using a cheap setup but can make money if you use a boring setup four days a week. Therefore, the things that will earn you money in the real world are racks, fenders and durable tires and a serious lock will typically outlast any flashy upgrade.
The commuter setup that usually works best
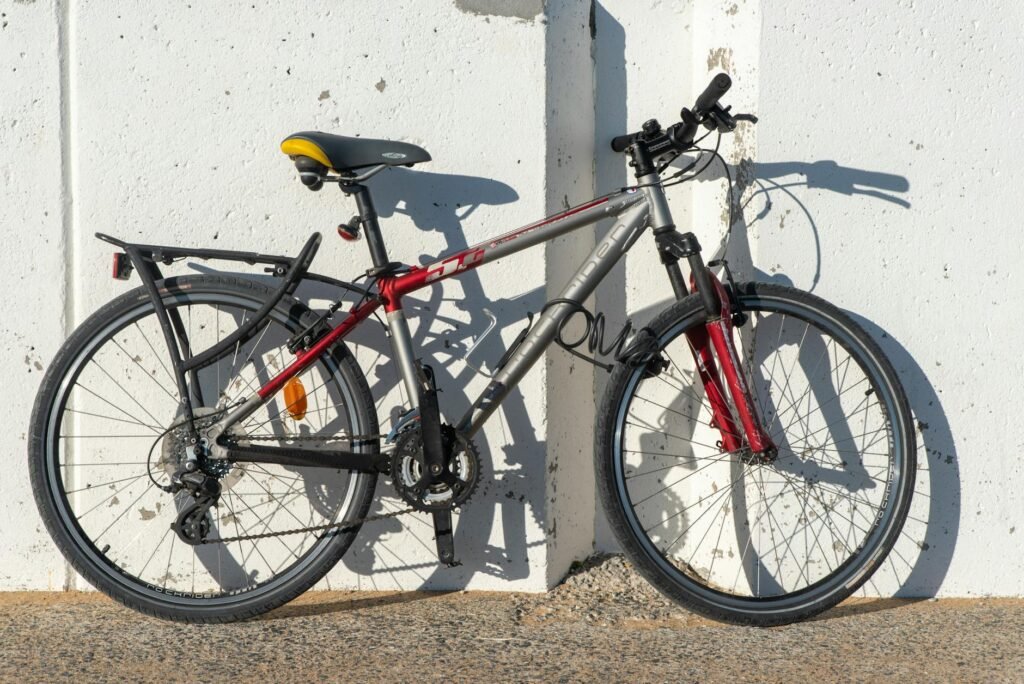
1) A bike that fits and stops well
Start with fit and basic condition. NHTSA recommends a bike that fits you and says a bike that is too big is harder to control. It also advises a quick pre-ride A-B-C check so tires, brakes, chain, and quick releases are not an afterthought. (nhtsa.gov)
In actual use this means you will have no worn-out brake pads, no unknown shifting problems, no low air in tires (low-pressure flat=1/2 full tire), and have your bike seat set correctly to allow you to Pedal easily (not jamming) when riding your bicycle. If your bicycle is moderately older but is mechanically more than good condition, doing required adjustment (tuning) for your older bicycle usually costs LESS than buying an entire new bike.
2) A helmet and lights you will actually use
Use a CPSC-compliant bicycle helmet and take fit seriously. CPSC says bicycle helmets sold in the US must meet federal performance requirements, and both CPSC and NHTSA stress that the helmet has to fit properly and sit level for maximum protection. (cpsc.gov)
For lights, do not treat them as an optional winter accessory. NHTSA recommends a white front light, a red rear light, and reflectors for night or poor visibility, and the League of American Bicyclists gives the same front-white, rear-red guidance for low-visibility riding. Rechargeable lights are fine, but only if your charging habit is dependable. (nhtsa.gov)
3) A way to carry stuff off your back
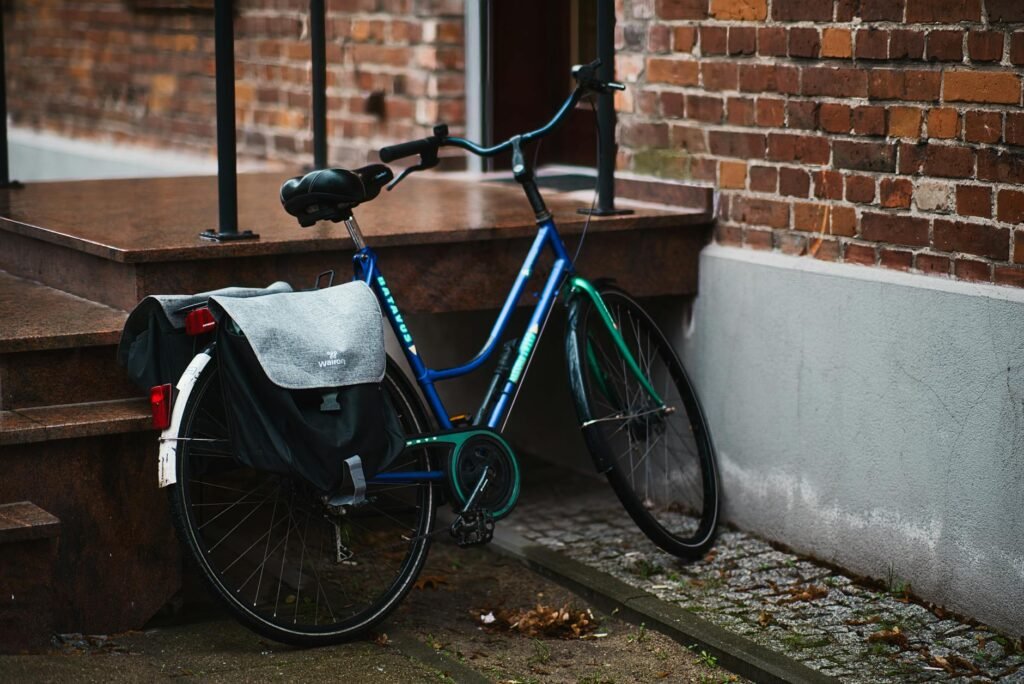
If you carry a laptop, lunch, lock, and a change of clothes more than once a week, get the load off your body. The League lists rear racks, panniers, baskets, and bags as commuter basics, and that advice lines up with what most city riders discover quickly: less back sweat and less shoulder strain make a commute feel shorter. (bikeleague.org)
Panniers/saddlebags, utilized with a basic rear rack, are typically considered the most adaptable option. Front baskets can also be effective when transporting small/shorter loads on quick errands. Backpacks can also be used for shorter rides, but they are often the first piece of equipment that cyclists stop using when they ride long enough to establish their commute as routine.
4) Tires, fenders, and a flat plan
Reliability matters more than speed on a work trip. NHTSA says a safe ride starts with a bike that works, and its pre-ride checklist calls out tires and brakes every time you ride. The League also notes that fenders help keep rain, dirt, and mud off your legs. (nhtsa.gov)
A lot of commuters will likely find their “sweet spot” is a set of durable tires with the appropriate amount of air in them, plus a small kit of flat repair tools that you understand how to utilize. If your route has glass, rough pavement, metal grates, or what’s referred to as “cutouts” in concrete or asphalt curbs, a little more tire protection than would be necessary for lighter-feeling tires would generally provide a greater value than just having lighter feeling tires.
5) Theft prevention that matches parking reality
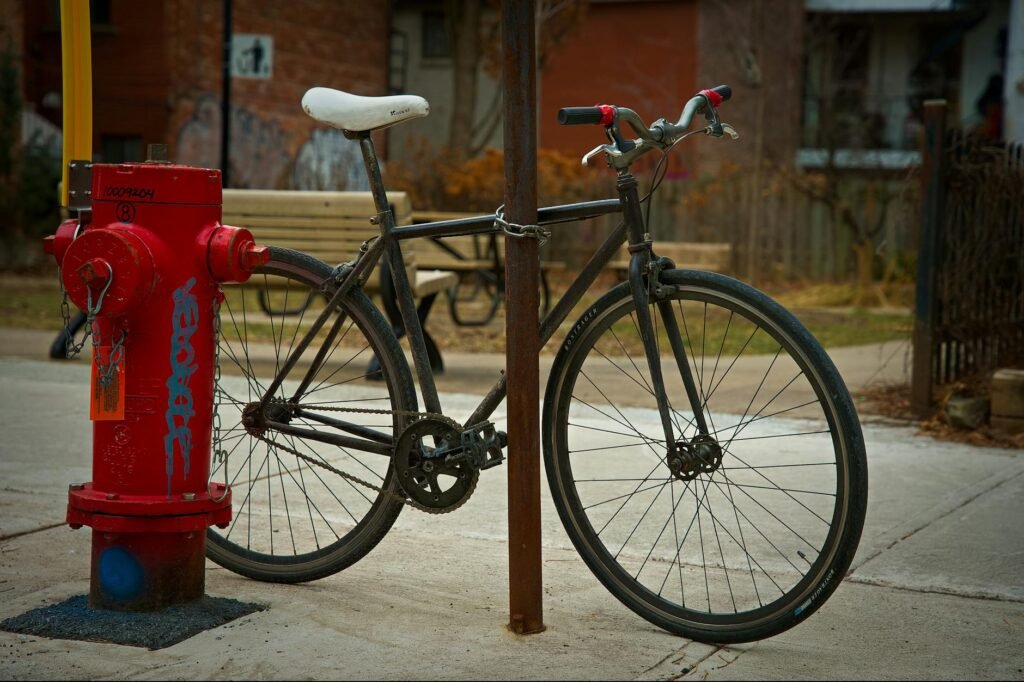
Your locking plan should reflect where the bike waits, not just what you ride. The League recommends locking to a large immovable object in a visible area, using a U-lock with a cable or a heavy chain, and never relying on a cable lock by itself. It also warns against letting cargo block your lights and reflectors. (bikeleague.org)
If you will have to park outside all day, first plan for security then for accessories. An appropriate person commuter bike with good locking mechanisms can typically cost less than the model of the commuter bike that has a variety of fancy accessories but only an average locking system and would, therefore, be less secure. Remove your lights whenever you park your bicycle; write down your bicycle’s Serial Number; and try to make your daily bicycle locking routine dull and similar each day.
Use the CALM Commute Scorecard before you buy anything else
Before making any new purchases, rate the current state of your home’s setup; Use the CALM Commute Scorecard rating system which uses a 0-2 score to assess Carry Score, Alert Visibility Score, Low-Maintenance Reliability Score, and Clutter Control Score. The objective is not to achieve total perfection; Instead the objective is to determine what the least expensive way to eliminate the greatest amount of daily stress for you would be by reading the scores of your existing setup.
| Category | 0 points | 1 point | 2 points |
|---|---|---|---|
| Carry | You wear everything on your back and hate it. | A backpack works for short rides only. | A stable rack, basket, or pannier handles your regular load. |
| Alert visibility | No reliable lights or dead batteries. | Lights exist, but charging is inconsistent. | White front light, red rear light, reflective details, and an easy charging habit. |
| Low-maintenance reliability | Flats or brake problems are common. | The bike works, but maintenance is reactive. | Tire pressure is checked, brakes feel strong, the chain is reasonably clean, and a flat kit rides with you. |
| Mess control | You arrive sweaty, splashed, or chain-stained. | One nuisance is solved, but others remain. | You have fenders or a weather plan, pant management, and a clothing strategy that fits the route. |
The total score will help you determine whether your commute is working for you. A score of 0-3 means that it is “fragile.” A 4 or five indicates relatively secure but still pretty stressful; as anything could cause it to fail. Six – 8 means that you are on your way to an “ordinary” suburban commute. To start figuring out how to best use your time, think of the first item on the list which has a score of zero (that one would be most appealing).
What to buy first based on the problem you feel
Most commuters do not need a shopping spree. They usually need one or two targeted fixes. Use the table below to spend in the order that changes the ride fastest.
| Recurring problem | Buy first | Why it usually works | Wait on |
|---|---|---|---|
| I arrive sweaty and hate carrying work gear. | Rear rack plus pannier or basket. | Moves weight off your back and makes daily packing easier. | Speed upgrades and phone accessories. |
| I keep getting flats or the bike feels sketchy. | Tune-up, durable tires, floor pump, and a flat kit. | Missed rides usually come from reliability failures. | Cosmetic accessories. |
| My clothes get dirty after rain or wet streets. | Full fenders and simple chain or pant management. | Keeps ordinary bad weather from ruining the trip. | Performance tires. |
| I worry the bike will be stolen. | Better U-lock setup or a second lock. | Protects the asset you already own. | Fancy lights or new components. |
| I avoid dusk rides because I feel invisible. | Reliable front and rear lights. | Improves visibility and confidence right away. | New drivetrain parts unless they are actually worn out. |
A realistic budget example
Consider a hypothetical rider with a 5-mile each-way city commute three days a week. She already owns a basic hybrid that fits well enough, but the bike has no lights, weak locking, no cargo space, and no fenders. Her current monthly commuting mix is about $70 in transit fares plus two $18 rideshares home when weather turns ugly, or roughly $106 a month.
She spends $90 on a tune-up, $70 on lights, $80 on a U-lock and cable, $55 on fenders, $70 on a rear rack, and $85 on a basic pannier. Total: $450. If that setup lets her replace about $60 of monthly transit and rideshare spending on average, the payback is around seven to eight months. The better point is behavioral: the ride becomes dependable enough to keep doing.
If $450 feels high, phase it. Month one can be a tune-up, a helmet if needed, lights, and a lock. Month two can be cargo. Month three can be fenders and a flat kit. A staged setup is still a real setup.
Common mistakes that waste money or add stress
- Buying a better bike before fixing basic fit, brakes, and tires.
- Treating lights as seasonal gear instead of everyday safety equipment for dawn, dusk, rain, and surprise late rides. (nhtsa.gov)
- Using only a cable lock for all-day city parking. (bikeleague.org)
- Carrying a heavy laptop on your back every day when a rack or basket would remove the problem entirely.
- Ignoring tire pressure until the commute feels slow, harsh, or flat-prone.
- Letting a bag or basket block the rear light or reflectors. (bikeleague.org)
- Overpacking for every ride instead of keeping a small repair kit on the bike and a spare layer or shoes at work.
If the obvious plan still does not work
Some commutes stay hard even with a well-set-up bike. That does not mean bike commuting is a bad fit. It usually means the plan needs a backup layer.
- If parking is the problem, ask your building or employer about indoor bike storage, add a second lock, or use a less attention-grabbing bike for weekday trips. The League specifically recommends visible parking and locking to an immovable object. (bikeleague.org)
- If hills, heat, or distance are the problem, try hybrid commuting: bike to transit, keep work clothes at the office, or ride only part of the week.
- If frequent flats are the problem, inspect the route itself. A slightly longer street with cleaner pavement can save more time than another repair.
- If stairs or small-apartment storage are the problem, keep the setup lighter and simpler. A basket or compact pannier may beat a full cargo build.
- If traffic stress is the problem, test alternate routes on a weekend. NHTSA says to choose routes with less traffic and slower speeds when possible, and to avoid or minimize sidewalk riding unless local law allows it. (nhtsa.gov)
A one-week reset to get commute-ready
- Run the CALM score on your current bike and write down every point loss.
- Do a pre-ride safety reset: air in the tires, brake check, chain check, and a short test ride. NHTSA’s A-B-C check is a good model. (nhtsa.gov)
- Install or replace the helmet, front light, and rear light before you buy comfort extras. (cpsc.gov)
- Choose one carrying method and commit to it for a week. Stop switching between backpack, tote, and a dangling grocery bag.
- Pack a minimal on-bike repair kit: tube, tire levers, inflation method, and whatever tool your bike actually needs.
- Ride the route twice in daylight, once near dusk, and once with your full work load so you can catch visibility, locking, and cargo problems before a rushed morning.
How to pressure-test the setup before you trust it
Do not assume the setup works because it looks organized in your hallway. Pressure-test it.
- Night test: Stand behind the bike after dark and confirm the rear light is visible and not blocked by cargo.
- Lock test: Time yourself locking and unlocking with your normal bag on. If the process is annoying, you will eventually skip part of it.
- Brake test: Practice one firm stop in an empty lot after any change to brake pads, tires, or handlebar position.
- Carry test: Load the exact laptop, lunch, and clothes you bring on a real workday.
- Morning test: Give yourself 30 seconds for air, brakes, lights, and quick-release checks. If that routine feels unrealistic, simplify the setup.
Warning: This article is general information, not legal advice. Bicycle equipment rules, sidewalk rules, and e-bike classifications vary by state and city. Check local law before relying on any route choice or equipment assumption. (nhtsa.gov)
Bottom line
The ideal bicycle commuter arrangement is neither the sleekest nor the most stylish. Rather, it is the one that provides little to no opportunity to avoid cycling to work. You need a bicycle that fits and functions properly, a properly fitted helmet, reliable lighting, a way to carry luggage other than on your back, a means of locking your bicycle so that it will not be stolen, and a plan for how to deal with inclement weather before worrying about going fast. If all aspects of your arrangement are rated as CALM, the experience of riding in a big city will likely be more enjoyable (less difficult) than you thought it would be.
FAQ
Do I need a special commuter bike, or will any bike work?
Any bike can work for commuting if it fits you and is in good working order. NHTSA’s guidance is simple: ride a bike that fits and make sure it works, especially the brakes. A used hybrid that is well maintained can be a better commuter than a pricier bike with no practical gear. (nhtsa.gov)
What should I buy first if my budget is tight?
First cover the non-negotiables: a properly fitting CPSC-compliant helmet if you do not already have one, reliable front and rear lights, and a lock that matches your parking situation. After that, buy the upgrade that fixes your biggest daily annoyance, usually cargo or tire reliability. (cpsc.gov)
Is a backpack okay for bike commuting?
Yes, especially for short rides and light loads. But if you carry a laptop, lunch, clothes, and a lock several days a week, a rack, basket, or pannier usually makes the commute less sweaty and less tiring. The League treats those carrying options as commuter basics for a reason. (bikeleague.org)
Are fenders worth it if I rarely ride in the rain?
Often, yes. Fenders do more than protect you in a downpour. They help on wet streets, puddles, and dirty pavement after a storm, and they can keep a normal workday from turning into a laundry problem. The League specifically notes that fenders help keep rain, dirt, and mud off your legs. (bikeleague.org)
Should I ride on the sidewalk if city traffic feels aggressive?
Usually treat that as a route-design problem, not a permanent riding strategy. NHTSA says to avoid or minimize sidewalk riding when possible because drivers often do not expect fast-moving bike traffic there, and it also notes that sidewalk rules vary by law. A calmer street, protected lane, or bike-plus-transit route is often the better fix. (nhtsa.gov)
References
- NHTSA Bicycle Safety – https://www.nhtsa.gov/road-safety/bicycle-safety
- NHTSA Pre-Ride Bicycle Safety Check – https://www.nhtsa.gov/document/bike-safety-pre-ride-bicycle-safety-check
- NHTSA Fitting a Bike – https://www.nhtsa.gov/sites/nhtsa.gov/files/2024-07/bike-safety-fitting-a-bicycle.pdf
- NHTSA Share the Road – https://www.nhtsa.gov/share-road-its-everyones-responsibility
- CPSC Bicycle Helmets Business Guidance – https://www.cpsc.gov/Business–Manufacturing/Business-Education/Business-Guidance/Bicycle-Helmets
- CPSC Bicycle Helmets: Use Your Head – https://www.cpsc.gov/safety-education/safety-guides/bicycles/bicycle-helmets-use-your-head
- League of American Bicyclists: Commuting – https://bikeleague.org/ridesmart/commuting/
- League of American Bicyclists: Rules of the Road – https://bikeleague.org/ridesmart/rules-of-the-road/